
Vinyl Plank Flooring in the Bedroom
We’ve been on a mission to replace the flooring in our house with luxury vinyl plank flooring – today, we’re talking about putting vinyl plank flooring in our master bedroom which, if you ask me, is the best flooring for bedrooms!

You guys! I am so excited!
We did it! There is no more carpet in our bedroom and I cannot even formulate a sentence enthusiastic enough to tell you how thrilled I am. I do a little happy dance every single time I walk into my room and see the clean, beautiful new vinyl plank flooring and I can’t get over what a big difference it makes. The room looks and feels about a gazillion times cleaner, it smells better (dogs + carpet = ew), and the room even feels cooler and less humid. Basically, my bedroom is a whole new world and I am beyond happy with it.
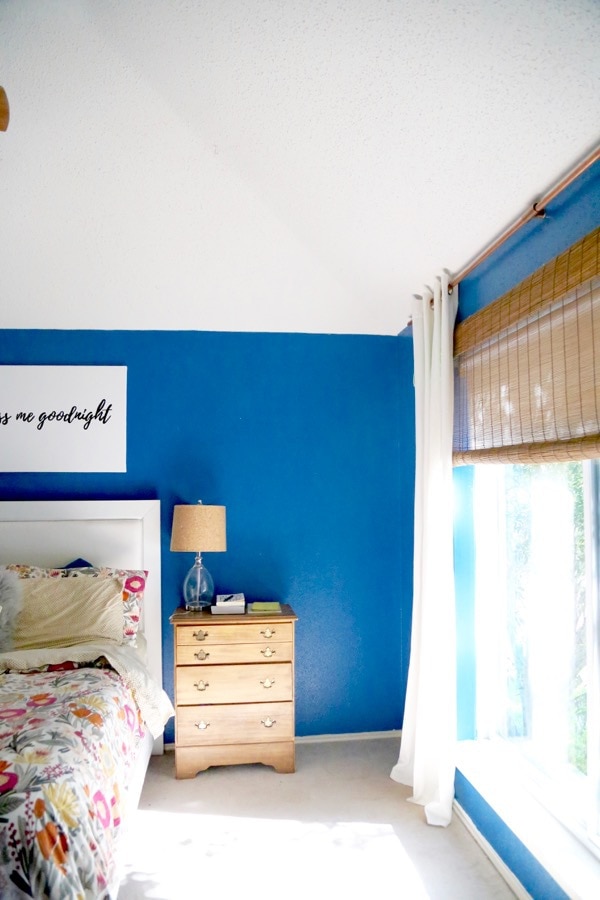
As a reminder, here’s what we were working with before (I had a hard time actually finding a photo that showed the carpet…I used to carefully crop it out of every photo!):
But now, I don’t have to hide my floor anymore, thanks to my gorgeous luxury vinyl plank flooring!
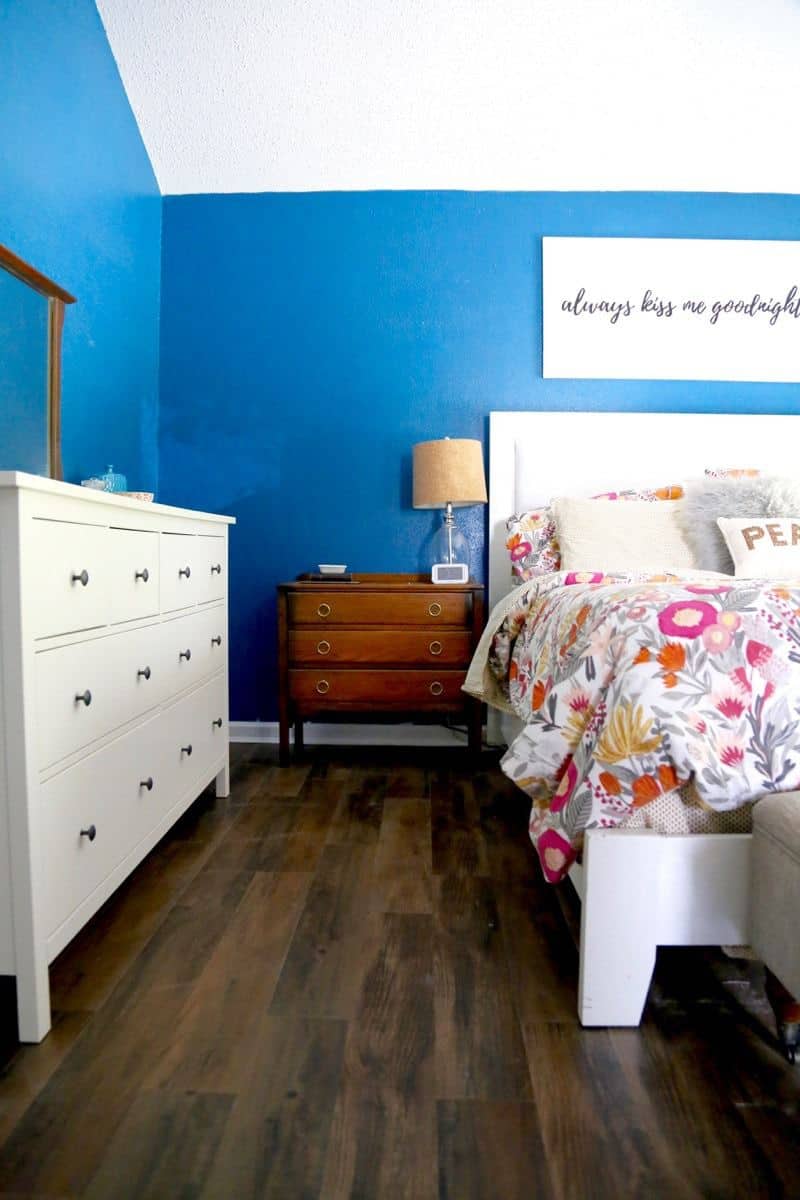
Luxury Vinyl Plank Flooring in the Master Bedroom
I’ve talked a lot in the past about the vinyl plank flooring from Lowe’s that we like to use and how much we love it so I won’t go into too many details again (but I’ll link those posts below for you! I will tell you, however, that we once again can’t get enough of this stuff. It’s affordable (less than $1 per square foot), easy to install (I did the whole room alone), and incredibly durable (we have a toddler and two dogs – enough said). You can find the vinyl plank flooring from Lowe’s that we used right here, and no they aren’t paying me to talk about it – I’m just that dang excited about this amazing flooring and how much of a difference it has made in our home.
We also went ahead and tackled the hallway (it’s between Jackson’s room, which already had the flooring, and ours so we kind of had to) and that was slightly less fun. I’m still suffering from a little post-traumatic stress related to how awful the whole thing was, so I won’t go into all of the details but suffice it to say I think the builders were drunk when they laid the subflooring for our hallway and it caused all sorts of problems for us.
I’d share how we fixed them but frankly, we’re fully aware that how we addressed it wasn’t the “right” way to do it, and it looks less than perfect in the end, so I’m definitely not qualified to advise anyone on how to fix the issue. If you run into similar problems when you’re installing new flooring, my best advice would be to just burn the house down.
Kidding.
Kind of.
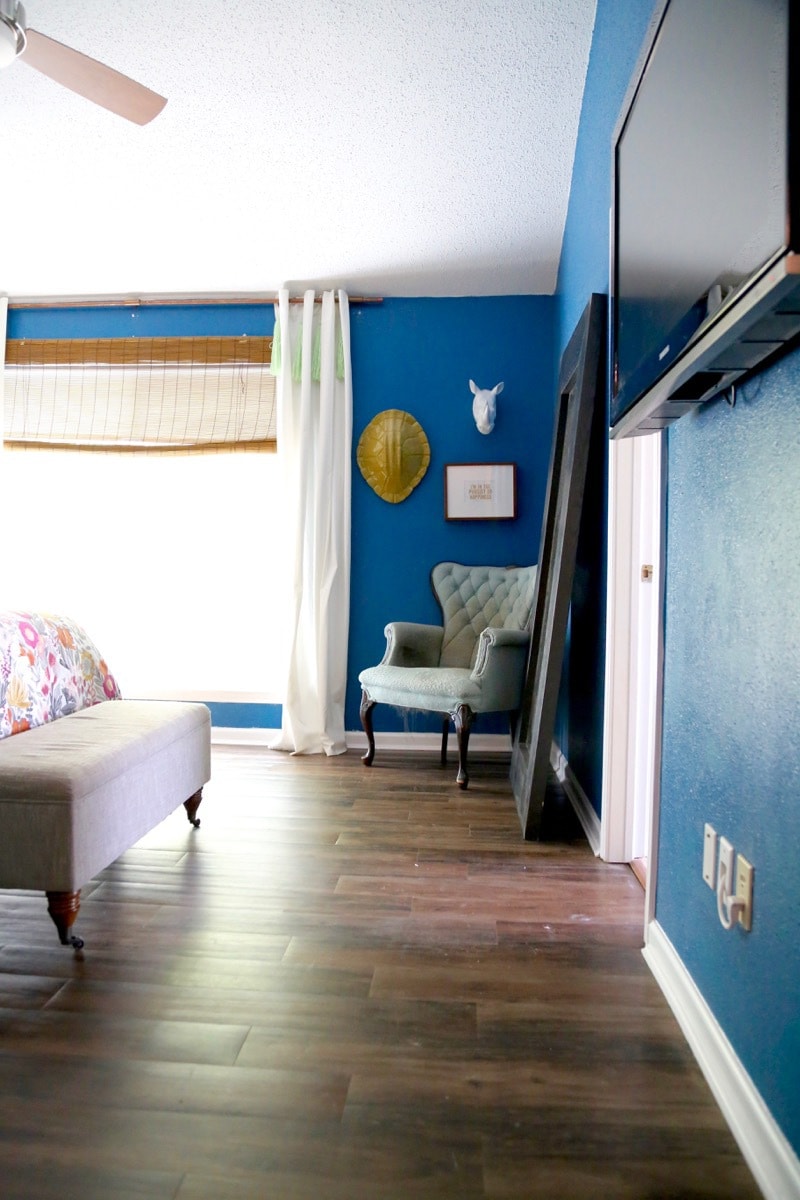
Anyways. Let’s stare at my new floor a bit more, shall we?

As you can see, we replaced the baseboards while we were at it, and I’m more than a little swoony over them. (Need some tips on how to install baseboards? I’ve got you covered!) We still haven’t gotten around to reinstalling baseboards downstairs, but I told Corey that if we were going to do the floor in our room we were going to also do the baseboards right away. It took about two days of work (one day to install them and one to caulk + paint them), and while it’s totally exhausting and tedious, it makes a major difference in the end product.
One of my favorite things about the whole project was that it meant we finally painted all of the doors upstairs. All of the trim and doors in our house are (were!) a creamy, off-white and it just looked dirty all of the time. It’s too subtle of a change to really be able to capture well in photos, but having all of the trim and doors painted white makes everything feel significantly brighter and cleaner!
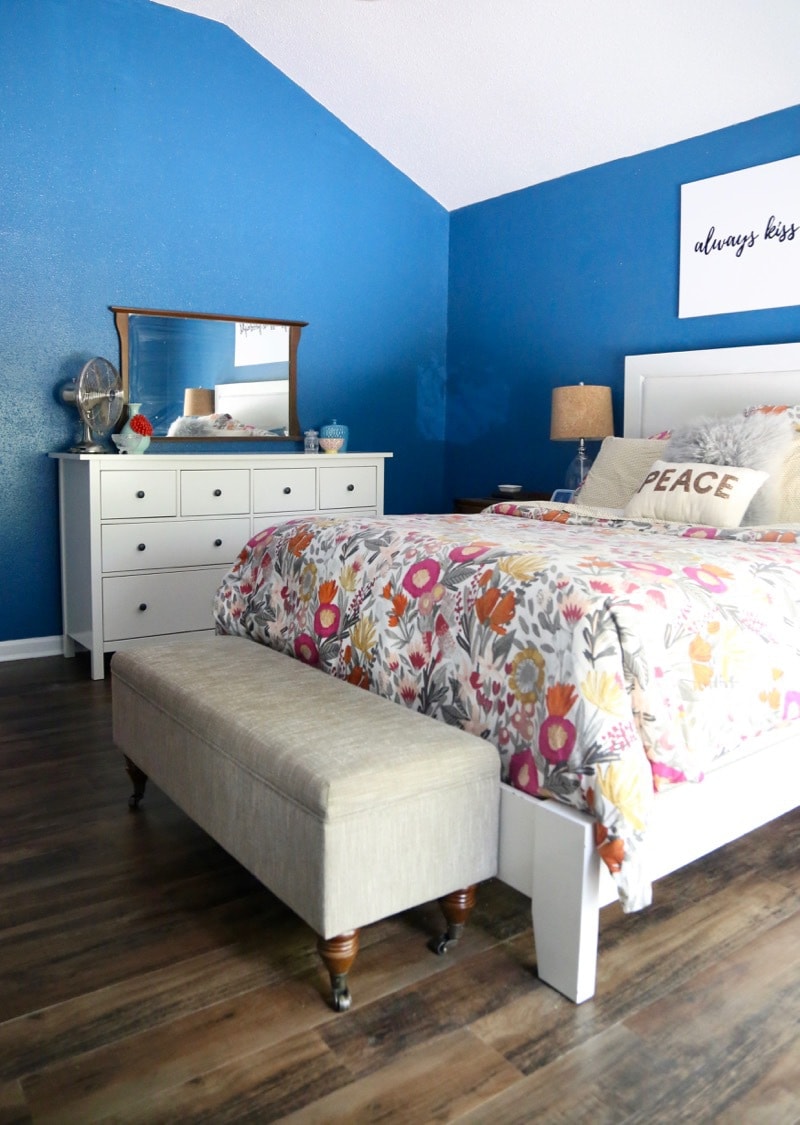
We’ve already got a new rug for the room, and I’ll share some photos of that later this week. I just had to show you the pretty floor in all of its glory before I covered it up! This was one of the last major changes that this room really needed. I’ve got a lot of little projects up my sleeves over the next couple of months (like tweaking our nightstands a bit, adding new lamps, and adding a gallery wall above the dresser), and we still want to buy some chairs to create a seating area in the corner. But as a whole, this room is finally starting to come together. Finally!
I know this is old news by this point but I was curious since you redid your first and second floors, did you also do the vinyl up the stair treads, too? We’ve had vinyl on our main floor for several years and are thinking of replacing the carpet on the second floor. Our main concern is what do we do with our stairs now?! TIA!
We didn’t – we had planned on it but ran out of time before we moved. I believe it’s pretty easy to find end caps for the stairs that match!
Catherine, I’m about to do the majority of my house in Vinyl Plank Flooring and we had the same question. What do we do with the stairs? Ultimately we decided it’s too dangerous to have a full flight of stairs be hard-surface flooring, so each stair is going to have a vinyl plank on the front face and carpet on top. Then the very top step will be vinyl because our hallway will be vinyl. I just don’t think I could recommend to anyone that you should do a full flight of stairs in a hard-surface flooring.
Hi Amanda! I came across your blog post while searching for reviews for vinyl flooring as I too would love to get rid of the carpet at our place. I absolutely love the look of your house, and the floor looks amazing! I do have one question for you: were any of the rooms where you installed the vinyl planks located upstairs (not on concrete)? And if so, we’re you simply able to remove the carpet and install the vinyl planks on the wooden subfloor, or did you need to get some kind of an underlay? Do you notice any waves or plateaus anywhere with this? I have seen two types of vinyl planks: one that is thinner, the other one with an isocore or a sub layer built in. Is yours the first one?
Thanks so much! Yes, we installed the flooring on both concrete and wood subfloor. We didn’t add any sort of underlayment – we installed it directly on the subfloor. As long as your subfloor is level, there are no issues. We had one area in the hallway where we didn’t ensure the flooring was level, and you could definitely tell. Everywhere else, however, it was no problem! We just spent some time before we installed it screwing down any corners that needed it and walking around on the subfloor to be sure you couldn’t feel any weird spots. Ours is the thinner flooring – no sub layer built in to it at all.
Did you have to do shoe molding as well?
It’s really a personal preference and depends on what is in the rest of your house. We had cove molding throughout this house, so we continued that in here!
Hello, thank you for your post! The floors look great. Did you use the same board colors throughout your rooms and main areas?
Hi Karen! Yes, we used this same flooring throughout all bedrooms and the main living area (including the kitchen and powder room)!
OMG! I’ve just stalked your blog & read all of your posts about this flooring. I’ve convinced my hubby (after texting pics of your floors) to go to Lowe’s tonight with me after work. I checked & our store has this floor in stock. I SO want to do this in our WHOLE house!! With a 3 day weekend coming up, I’m hoping to try it in a bathroom or two. So excited!
Thanks for the inspiration!!
Yay! You’ll LOVE it – good luck!
What did you use for your master bathroom? I’m in the planning stages to replace carpeting in all my bedrooms with LVP. Not sure of master bathroom – was thinking of luxury vinyl tiles for that. Or should I just extend the planks from the bedroom into the bathroom?
We used Style Selections flooring from Lowe’s for this space! And honestly, either would look great for your bathroom!
Please help ! Before I start some of my rubber connections are cracked will that be an issue?
I’m not sure what you mean by rubber connections? Ours was not a locking system, just adhesive on the bottom.
I love how that flooring looks in your bedroom! The difference is really night and day! What a beautiful transformation, and you definitely can’t beat the price! It really turned out quite beautiful.
Thanks, Celeste! 🙂
Looks awesome!! Way to go on installing it yourself too! Maybe this is what we need in our basement!!