
Our New Backyard Pergola
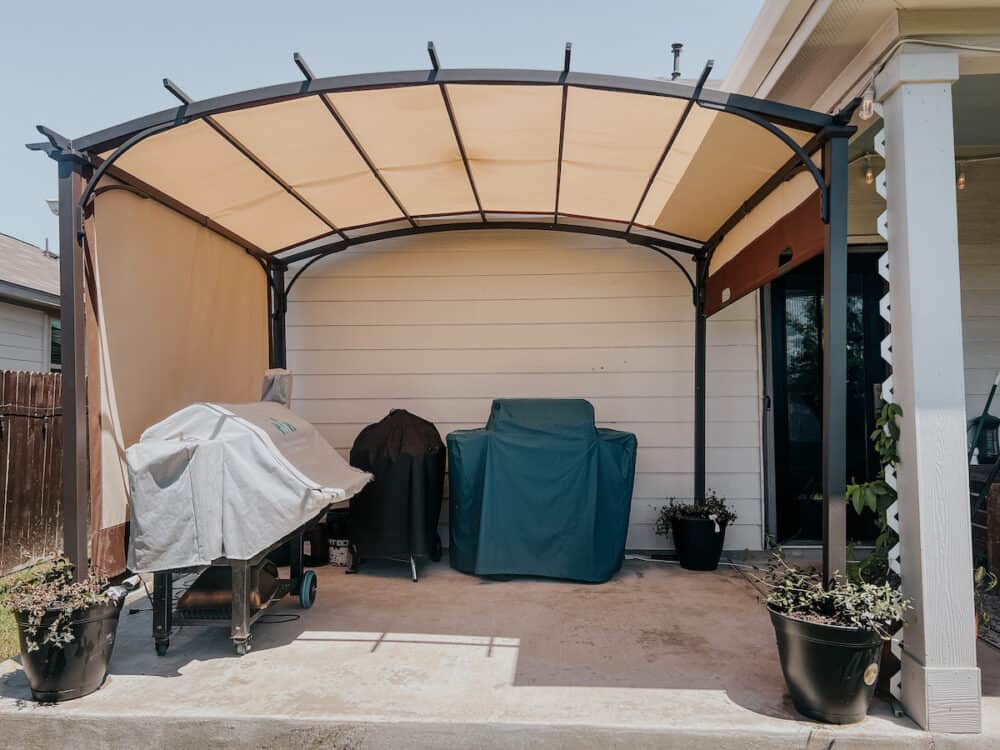
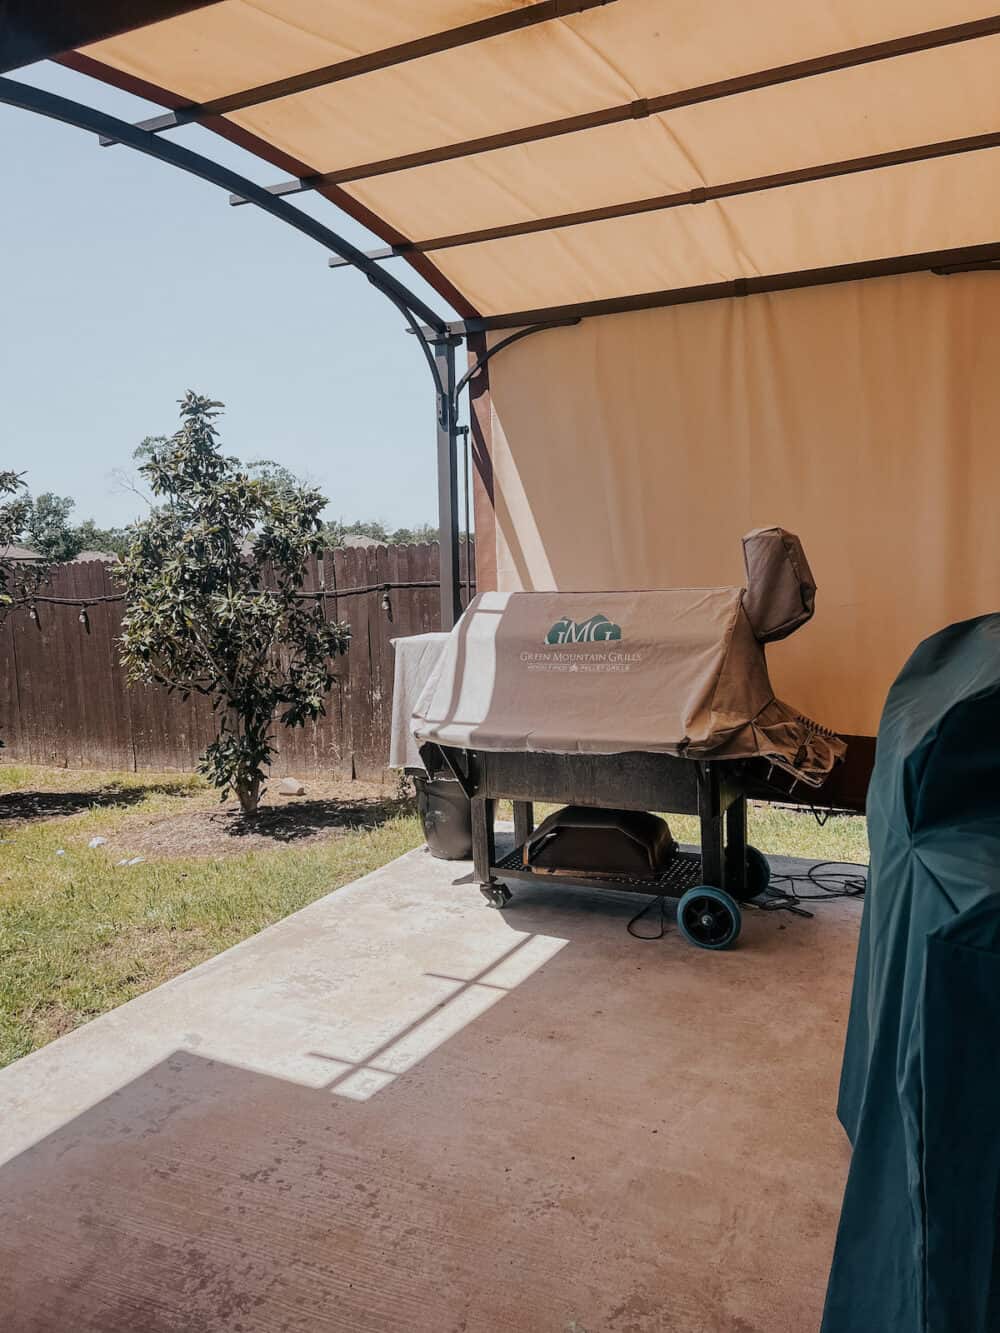
Within a year of moving into this house, Corey and I had the back patio extended to give us a little extra room. We have truly loved having the larger patio but, if I’m being honest, we’ve never really known what to do with it. We keep our grills (yes, plural) on it, and my husband is reluctant to create a built-in situation because he likes to swap out grills with some regularity. So, it currently looks kind of like a grill parking lot.
Also, there was zero shade and our backyard gets full afternoon sun. So, needless to say, it wasn’t exactly a comfortable place to hang out. At one point we put a small table and umbrella out there, but once Corey got his big smoker it didn’t fit anymore.
So, for the last few years we’ve basically just had a big concrete slab with some grills thrown onto it. It’s a total eyesore and it’s only halfway functional, thanks to the scorching heat.
I’ve been wanting to get that half of our patio a little more functional for a looong time, and I’m determined that this is the year I make it happen. I decided to start with the most important component: shade. A back patio with zero shade is essentially useless in Texas for at least half the year, so it was a big priority for us. So, we decided to get a backyard pergola.
Choosing a Patio Pergola
We’ve gone back and forth for literal years about how we wanted to add shade back here. We debated building our own gazebo but felt like we don’t have the skill to incorporate it into the existing roof in a way that looks natural. We considered hiring it out, but it averages about $5k and that felt like a lot.
In the end, I decided to track down an affordable pergola to put on the patio. It’s a budget-friendly option that isn’t permanent (so if we hate it, it’s can be removed!), and it’s totally DIYable. I had to do some searching because our patio is a little smaller than standard pergola size (it’s 9′ wide, and most pergolas are 10′ wide). But, I found a pergola that’s a little over 8′ x 10′ which was perfect for us. It was right on budget (read: cheap), and looked nice and neutral. I hit order and called it a day!
Of course, when it got here, there were some additional things to think about. Like, how are we going to make sure it doesn’t blow away in the crazy windy Texas spring storms? Because those are very much a thing and it was very much not going to stay in place.
Stabilizing Our New Backyard Pergola
So the question became, what’s the best way to stabilize a pergola when you can’t dig into the ground to do so?
At first, we just used a ratchet strap and tied it to the pole for our existing patio. It wasn’t pretty, but the pergola didn’t fly away in our first few storms! But, of course, that was only holding one corner in place (so it sometimes shifted right off the patio), and it didn’t look good.
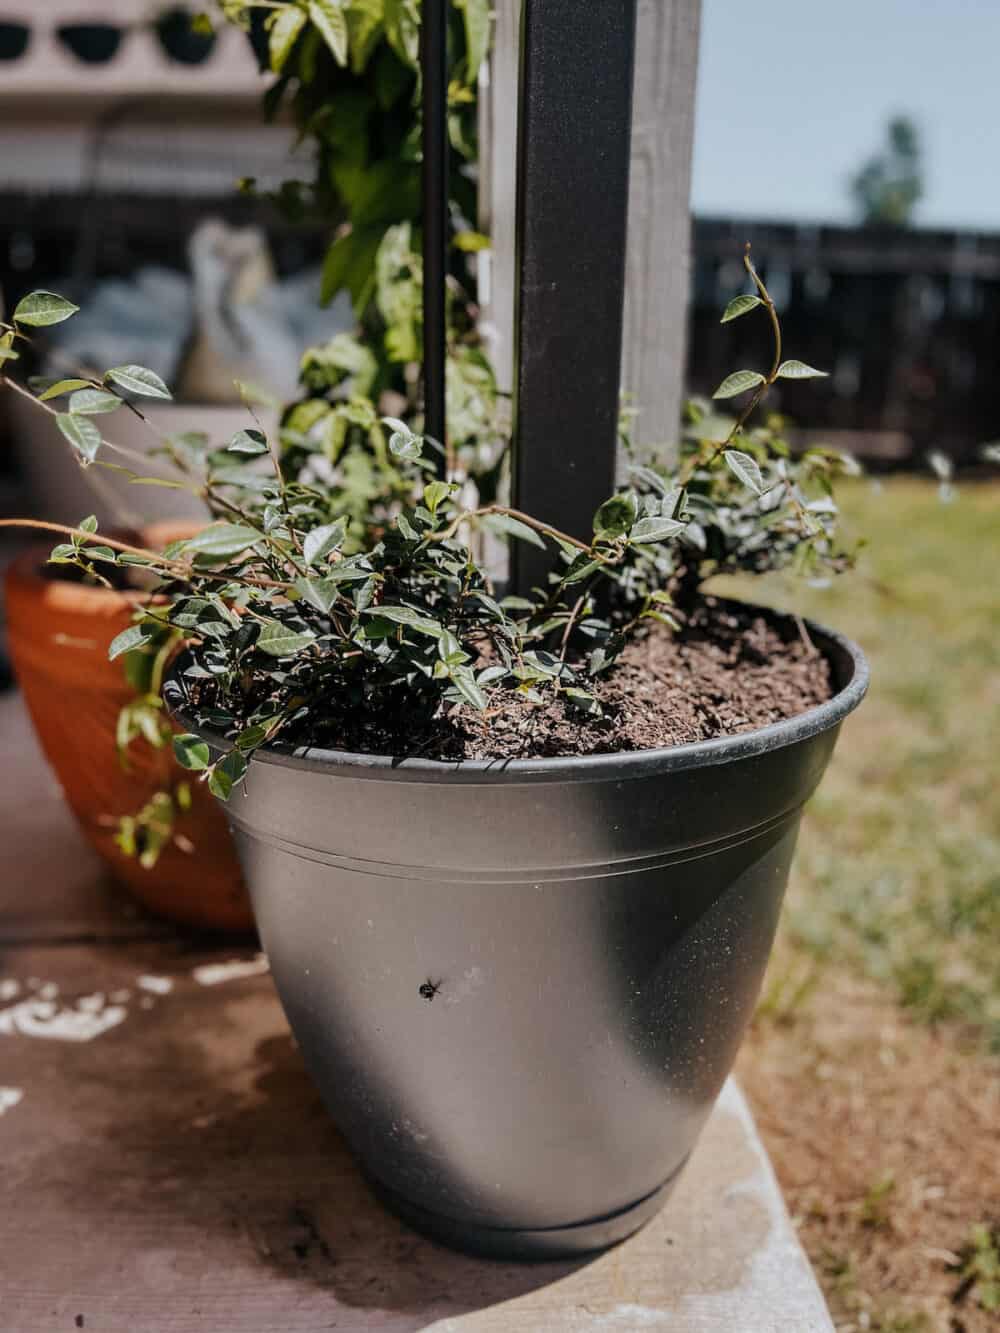
Thankfully, we already had a plan. For years, I’ve seen people create light poles in their backyard using planters and concrete. I knew it would be the perfect solution here, too! So, I headed to Lowe’s and grabbed the biggest, cheapest planters I could find along with a couple of bags of Quickrete. And thankfully, it worked like a charm.

Here’s How We Did It:
- I started by placing each of the pergola legs into a planter.
- Then, I poured about half a bag of fast-setting Quickrete into the planter.
- I used the hose to add enough water to get a pancake-like consistency.
- Using a trowel, I mixed it in as best as I could so no powder was left.
- Then, I let it dry!
- Once it dried, I drilled 3 holes in the side of the planter above the concrete, to allow for drainage for my plants.
It’s really fast-setting, so within a couple of hours, I was ready to plant!
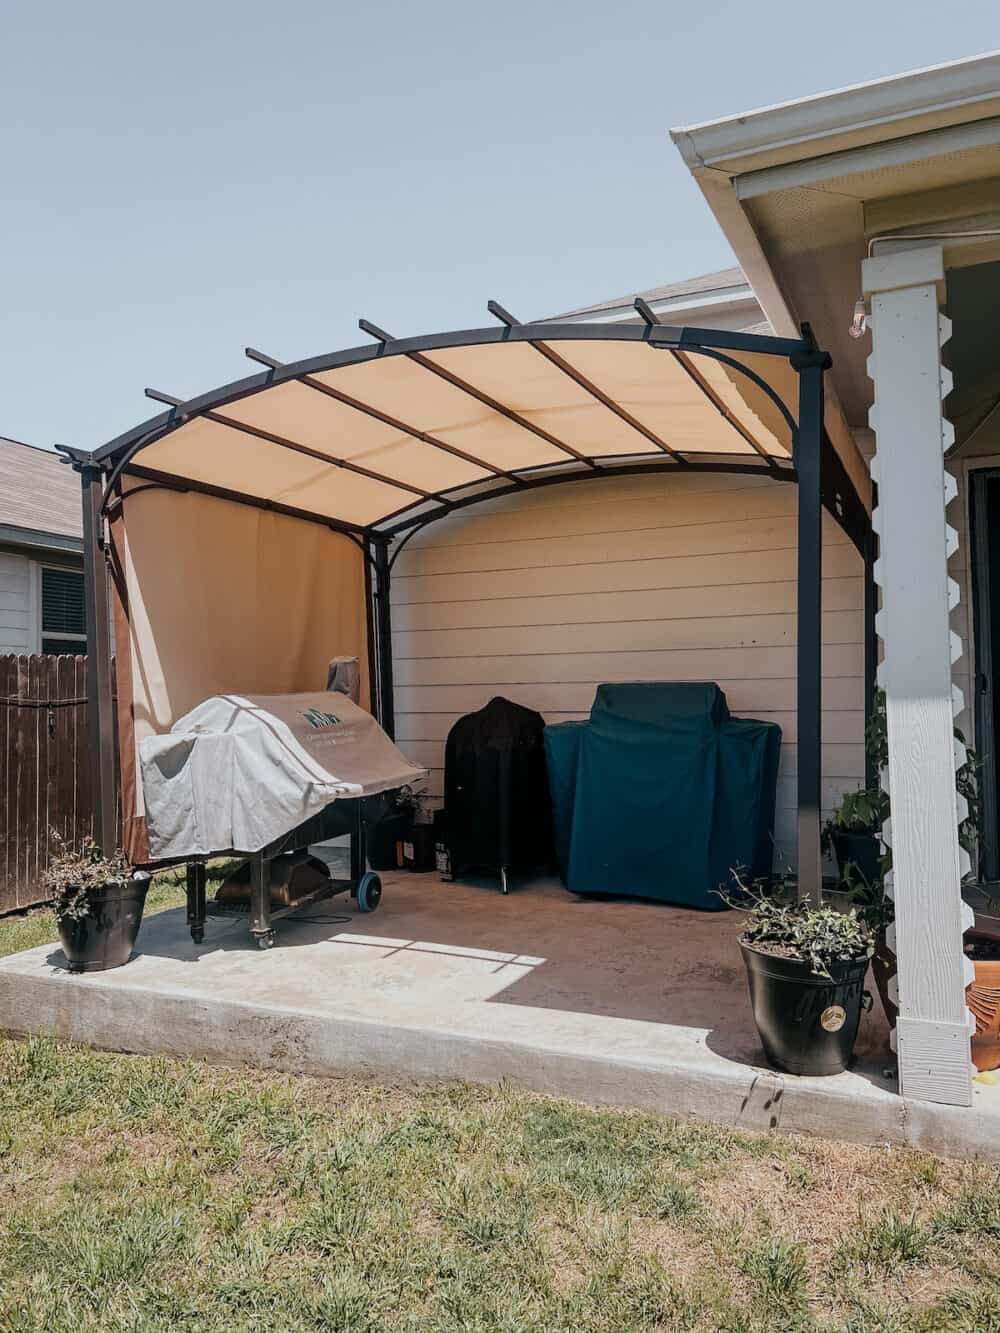
I picked up a couple of varieties of Jasmine from our local garden center and planted a couple in each planter. And in one afternoon I not only stabilized our patio pergola, I made it look pretty great, too.
What’s Next?
Of course, this little backyard pergola is (hopefully) only the beginning of the projects out here this spring and summer! My hope is that we’ll be able to create another little area for the grills (stay tuned, we’re pricing out some options), so that I can have an outdoor dining area. It’s something I’ve really missed since we left our incredible backyard from the last house behind, and I really want it back!
For now, though, I’m just really enjoying the extra shade! This pergola blocks the afternoon sun from our main sitting area, too, so I can enjoy my favorite backyard chair all afternoon long without feeling like I’m roasting. Doesn’t get much better than that!