
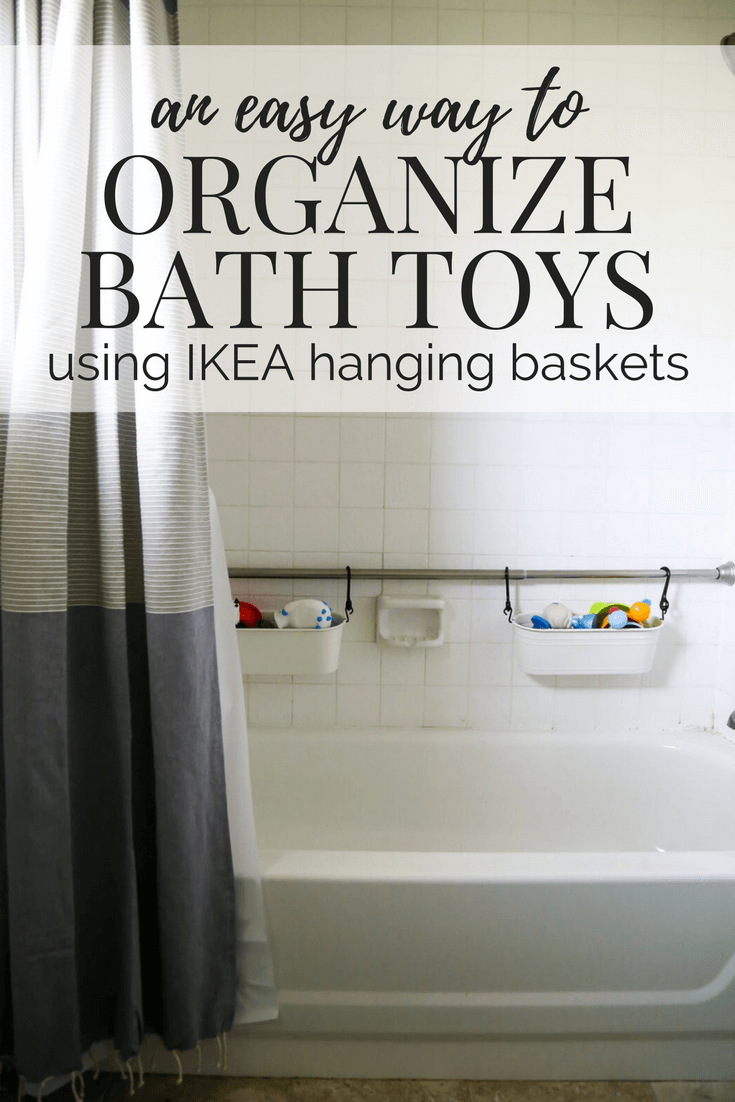
An Easy Bath Toy Storage Idea
Sooooo, can we talk about bath toy storage and how it’s the bane of my existence?
If you have a child, then you know what I’m talking about. Those brightly colored, soaking-wet, all-over-your-bathroom toys are totally necessary. They keep your kiddos happy, busy, and totally entertained during bathtime. It’s a whole half hour where I get to read a book in the bathroom while Jackson plays! But, they’re constantly sitting in the bottom of your tub, they drip water everywhere, and they make the biggest mess ever when they inevitably end up all over the bathroom floor.
I mean, we don’t spend a ton of time in Jackson’s bathroom, but I hated walking in every day to this view.
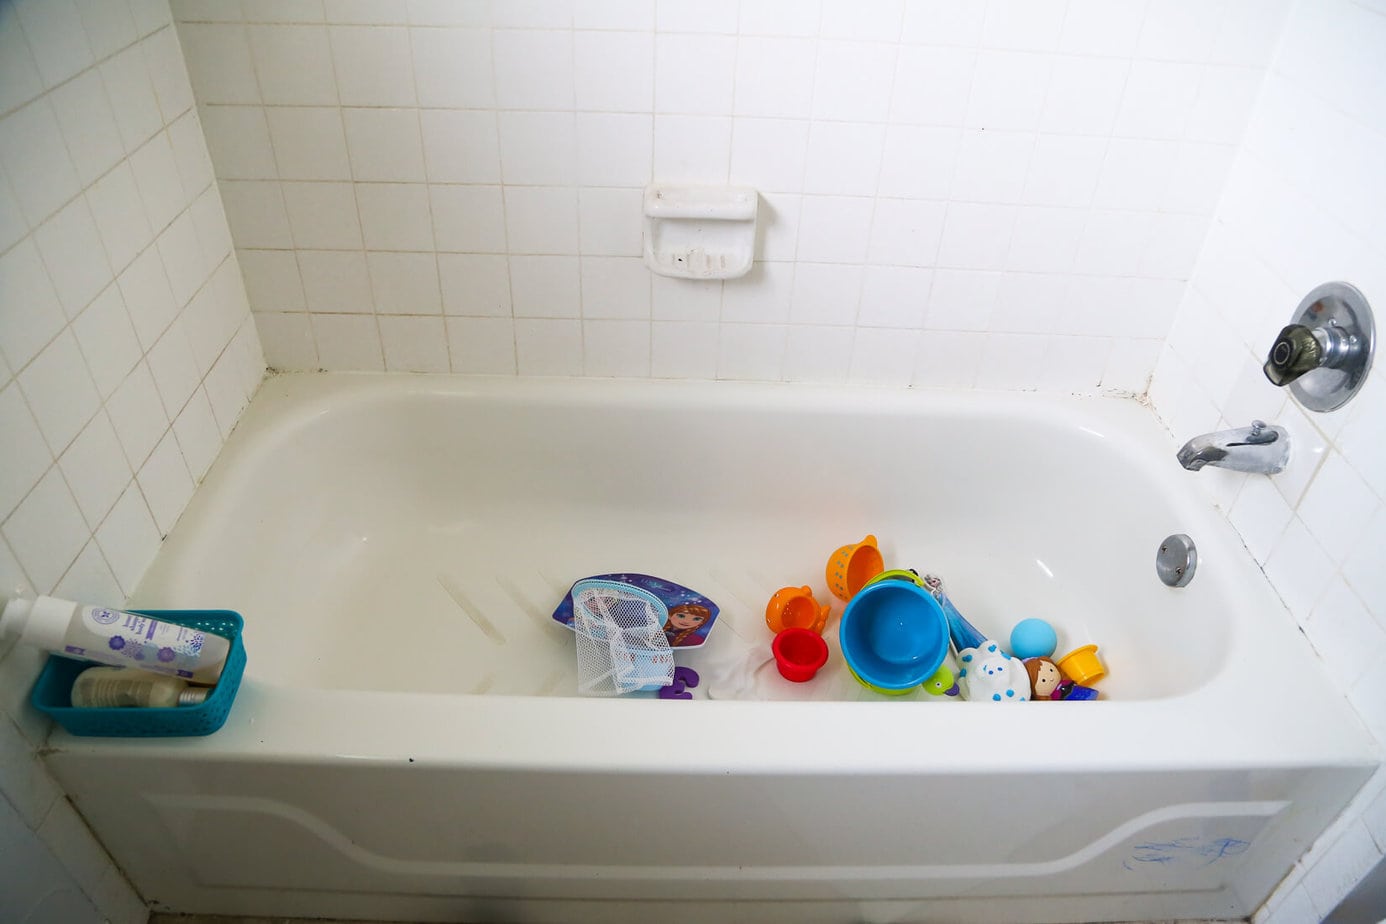
So, when we were giving his bathroom a little refresh, I decided to do something about it. I don’t like most of the typical bathtub toy organizers. A lot of them suction to the bath walls and they always fall off (or get pulled off), and make a bigger mess than you started with.
Plus, they’re ugly, so there’s that.
I wanted to do something that was going to be attractive, affordable, and easy for Jackson to maintain. But what?
Well, if you’ve been reading here for any length of time, then you know that I have a major love affair with baskets. That’s because I’m a faker – I don’t actually have it together enough to have everything in my house totally organized. But, if I create a semi-organized system and toss everything into the designated basket at the end of the day, my house looks totally clean and no one is the wiser!
So, it should be no surprise that when I was trying to figure out how to contain the obnoxious mess of Jackson’s bath toys, I landed on using baskets in the bathtub.
I’m nothing if not predictable.
This post contains affiliate links. Click here to read my full disclosure policy.
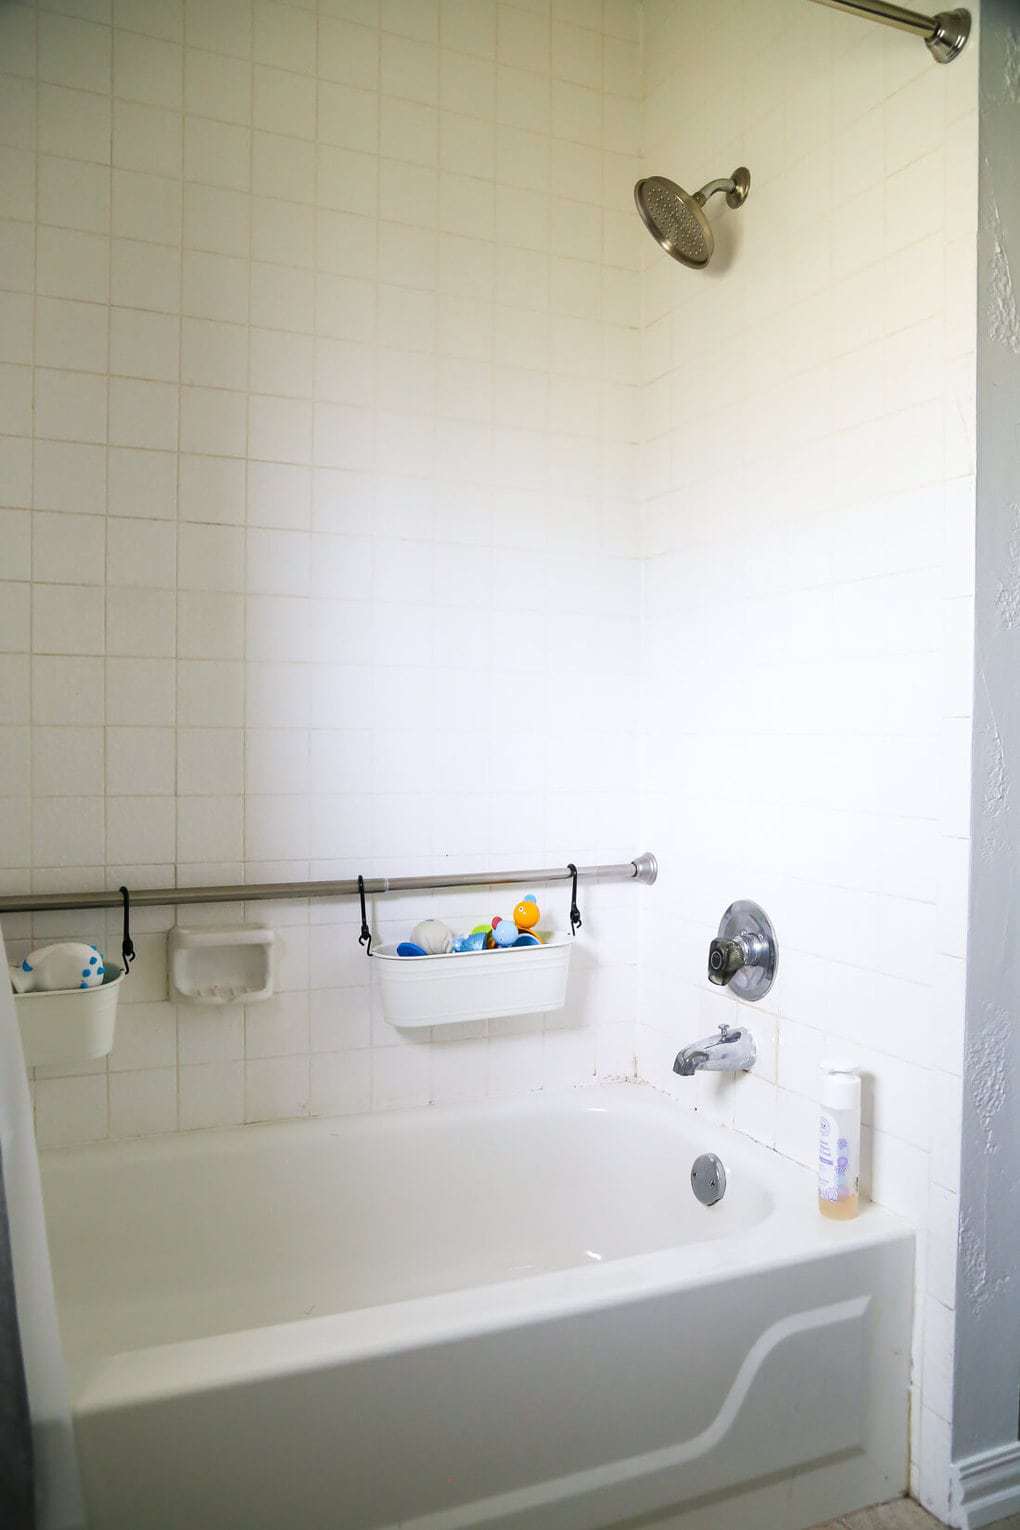
This was such an easy way to corral all of his toys in the bathtub! He really loves having a dedicated place for them. Plus, it looks pretty dang cute if you ask me.
Here’s how to do it:
Easy DIY Bath Toy Storage
Materials Needed:
- 2 Hanging Baskets (The ones I used aren’t available anymore, but these are a good alternative!)
- S-Hooks
- Shower curtain rod
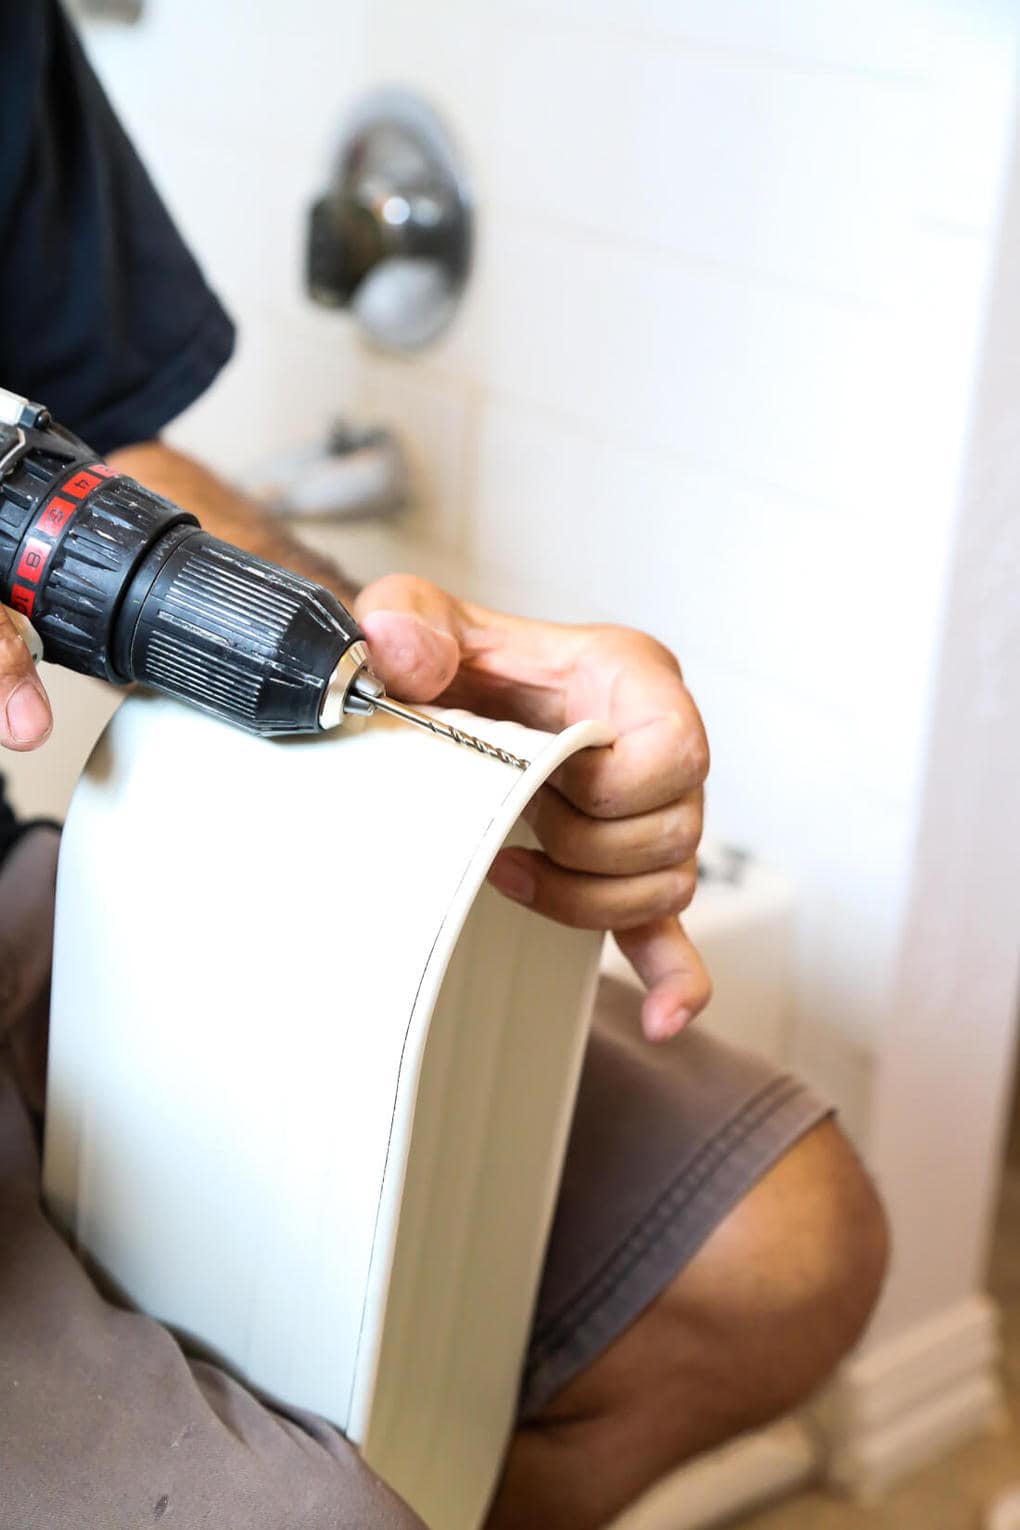
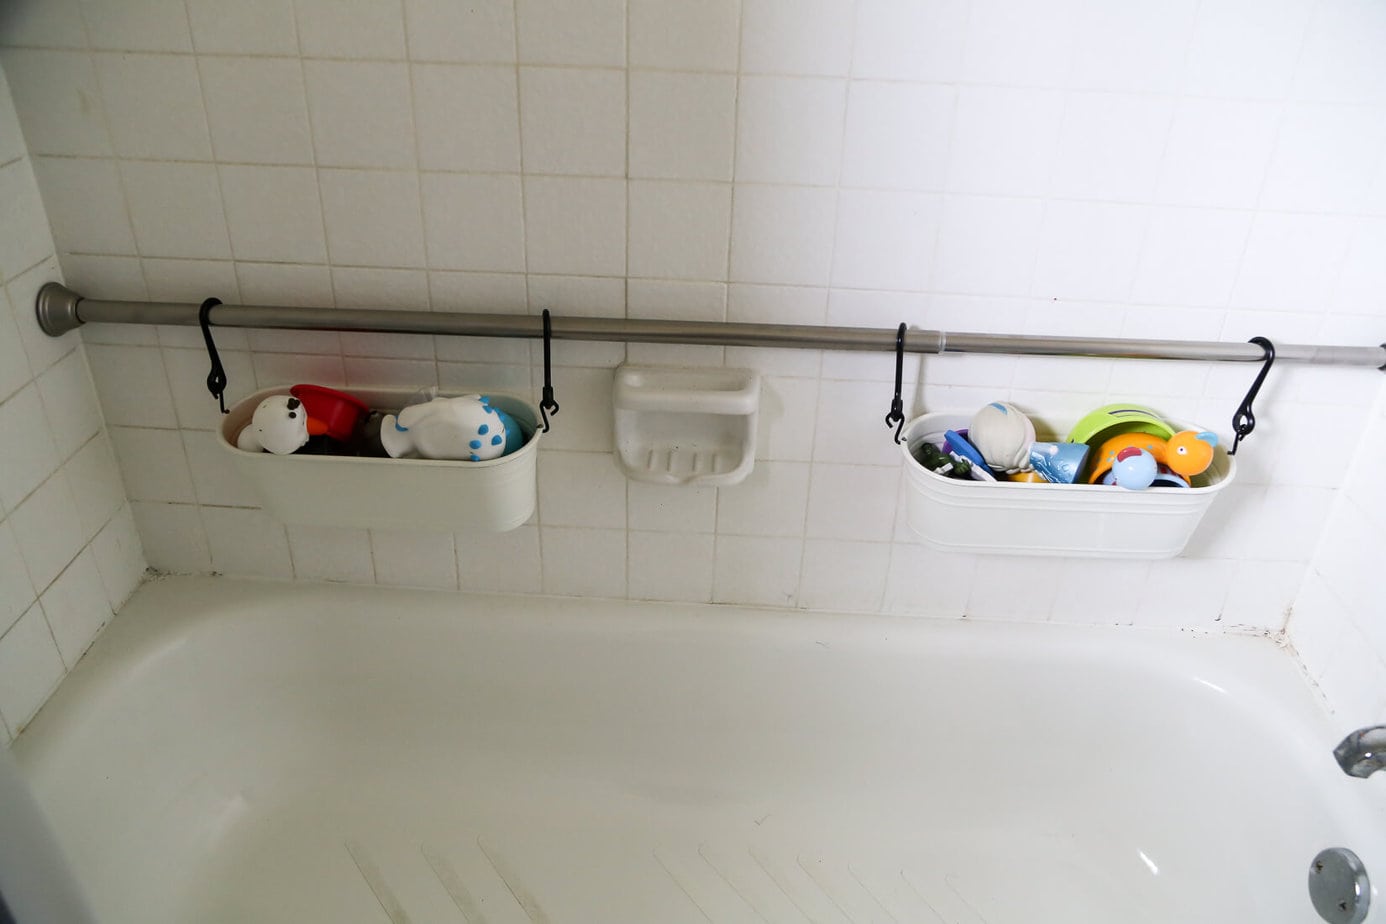
Step One: Prep Baskets:
There’s really not much to it here – your exact steps will depend on the basket you’re using. But, no matter what you choose your first step will be to prep it to hang on your curtain rod. I was using metal baskets, so I needed to drill some holes in the bottom for drainage. I also drilled a hole in each side for my S-Hooks.
Step Two: Hang Shower Rod
Grab your shower curtain rod and hang it across the length of the tub, at a height your little one can reach. Then, hang the baskets from the rod!
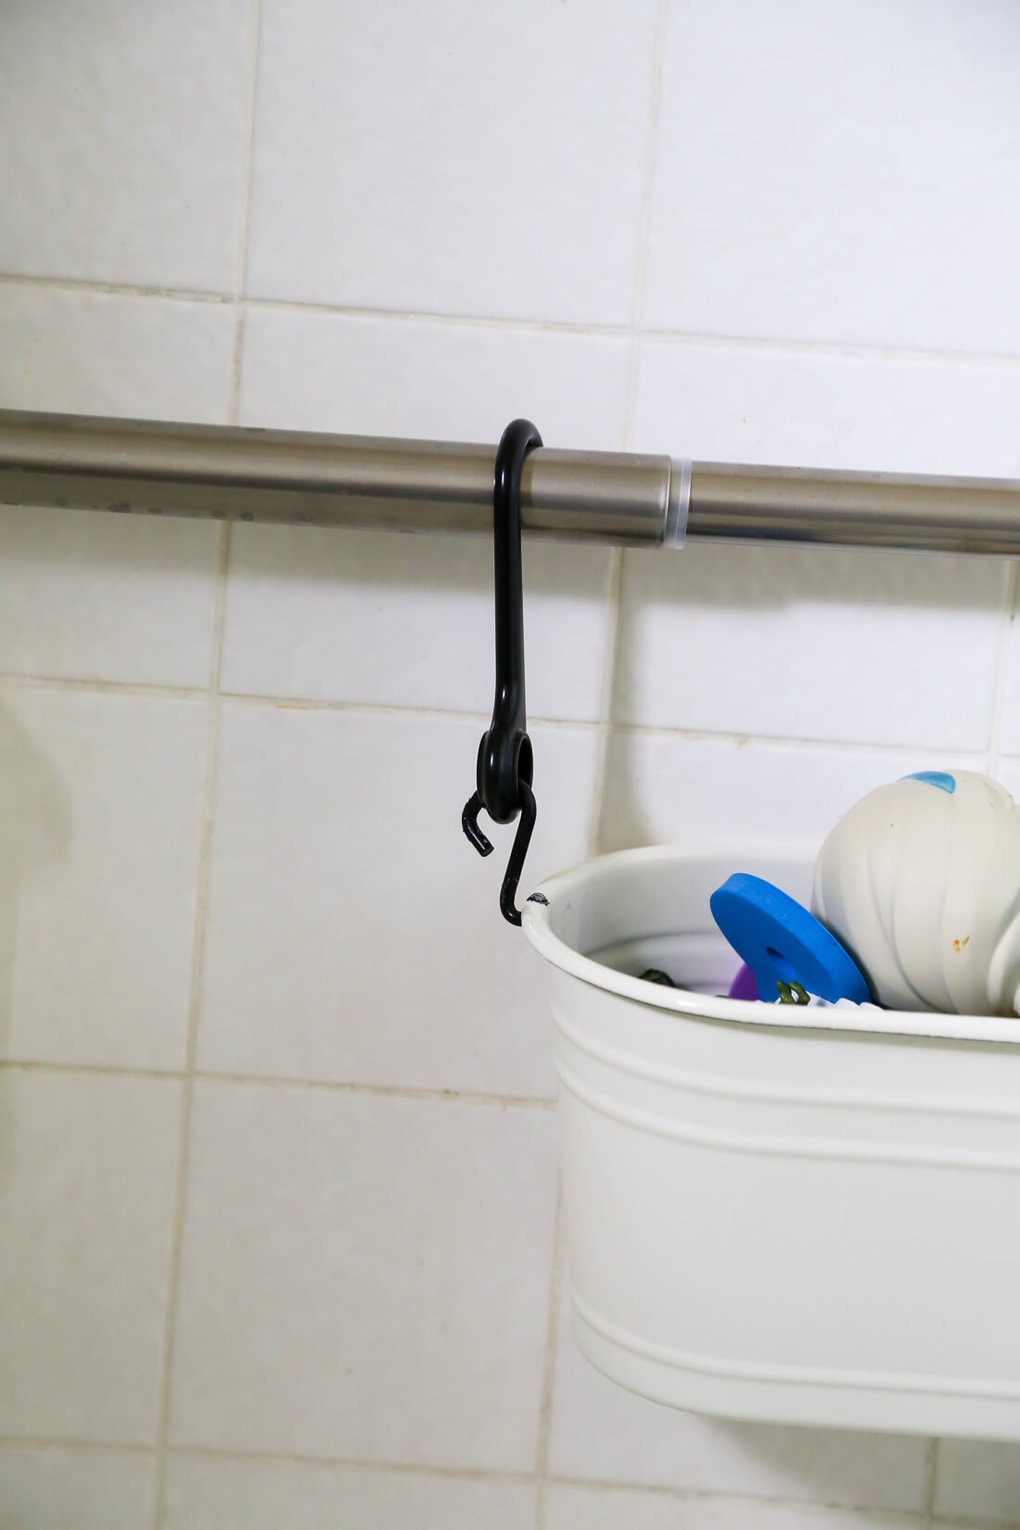
Repeat for as many baskets as you want. We only did two, but if you didn’t have a soap dish there you could do three! Then, toss your toys in, and bask in the glory of a toy-free bathtub.
One side benefit of these baskets that I didn’t really anticipate is that they’re basically a whole new thing for Jackson to play with while he’s taking a bath. His toys hide from each other in there, they turn into giant caves with monsters, and they’re basically worked into every elaborate storyline that he makes up with his toys when he’s taking a bath.
And we all know that anything that keeps your kids busy and happy for a little bit longer is something you want to add to your home. Especially when it also has the side benefit of keeping your bathroom looking cleaner.
Win-win, right?!
How do you keep the bath toys corralled in your house? I can’t believe we went over three years without any sort of actual system!
So, you didn’t drill drain holes in the bottom of the baskets for water to escape? Are you having any rust issues?
Hi! I mentioned in the post that we did add holes in the bottom of the baskets -and I’d definitely recommend you do that if you try it!
You also could have gotten the large black S hooks from Ikea & not demo’d your baskets. It would have worked well.
You’re absolutely right! But, at this point we had already spent the money on materials and I’m nothing if not stubborn and cheap – so, we decided to make it work. 😉
I love this idea! #HomeMattersParty
Thank you, Mandy!