
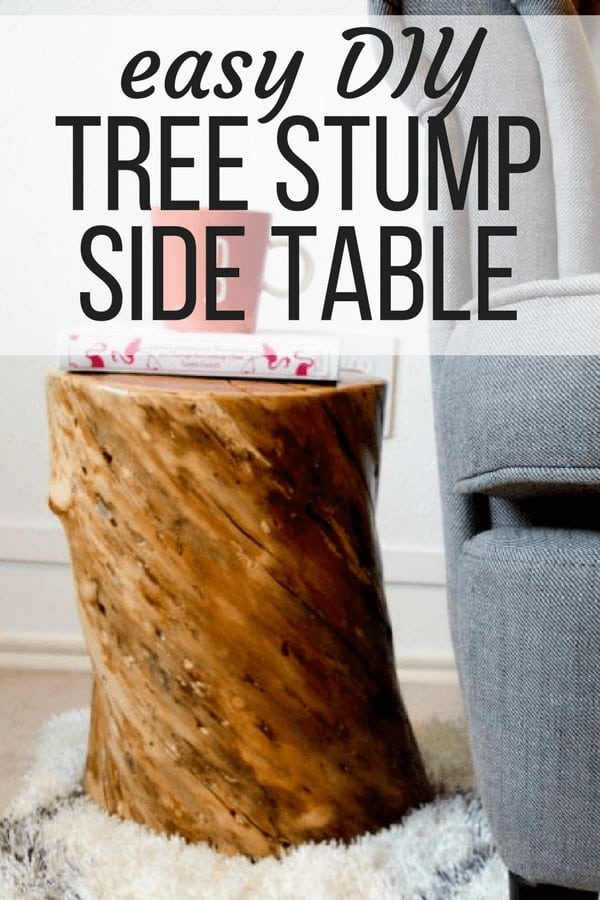
DIY Tree Stump Side Table
This DIY tree stump table is a quick and easy project that will add a ton of style to your home. It’s one of the easiest projects we’ve ever done, and the end result is absolutely beautiful!
This post is also known as one of the easiest projects ever in the history of this blog.
SERIOUSLY.
I’m as surprised as you are. Let’s jump right in.
This is a project that Corey and I had really been wanting to do for a while (we’ve had the stump sitting in our garage for close to a year!), but I was kind of intimidated by the sheer magnitude of it, so we put it off. A tree stump table seems so overwhelming and intense and I just wasn’t ready to handle it.
But we recently wrapped up our participation in the Creating With the Stars competition, and our last project was the perfect time to bust out the big guns. We needed a side table for the room we were working on, so we decided to hop right in and do it. I’m so glad we did, because it was much easier than I ever expected it to be, and I love how it turned out!
HOW TO MAKE A TREE STUMP TABLE
MATERIALS
Here’s a quick roundup of the materials you’ll need for this project:

INSTRUCTIONS
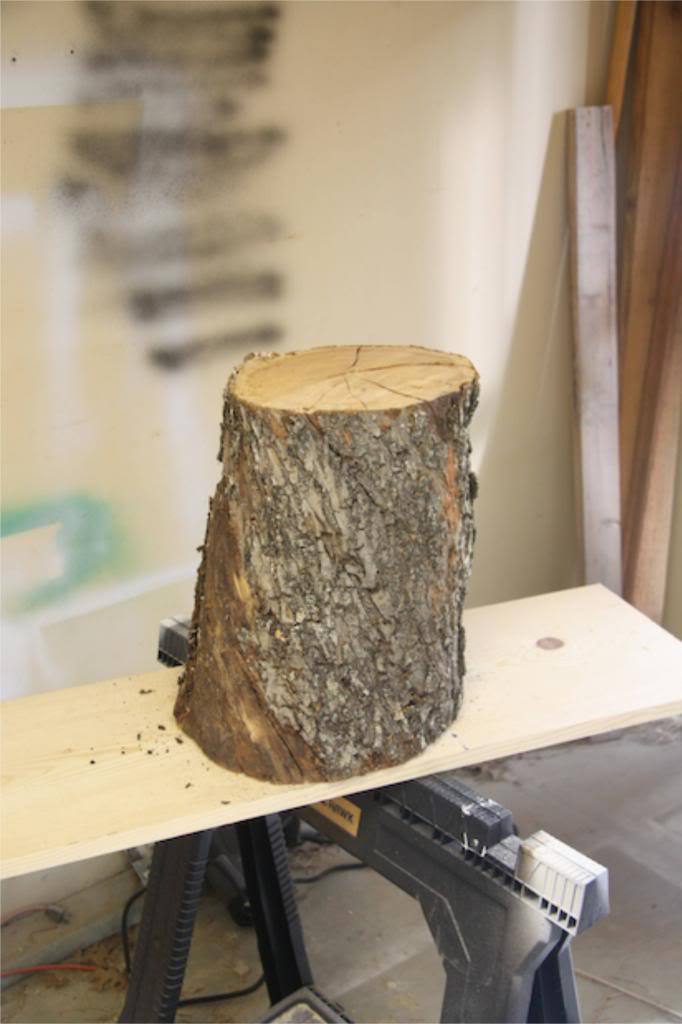
The first step to a project like this is probably the most difficult part – find a stump.
This post contains affiliate links. Click here to read my full disclosure policy.
We happened to have one left over from when my dad chopped down a tree for us last Father’s Day. Once you’ve got it, it needs to dry out. This is the part that may take a while.
For us, this part was already done – our stump had been sitting in the garage for about 10 months, so it was definitely dried. But, I’ve read that you should let it sit for several weeks or months, or basically as long as you can stand to make sure it’s good and dried out.
You wouldn’t want any bugs crawling around in your home after you bring it in, would you?
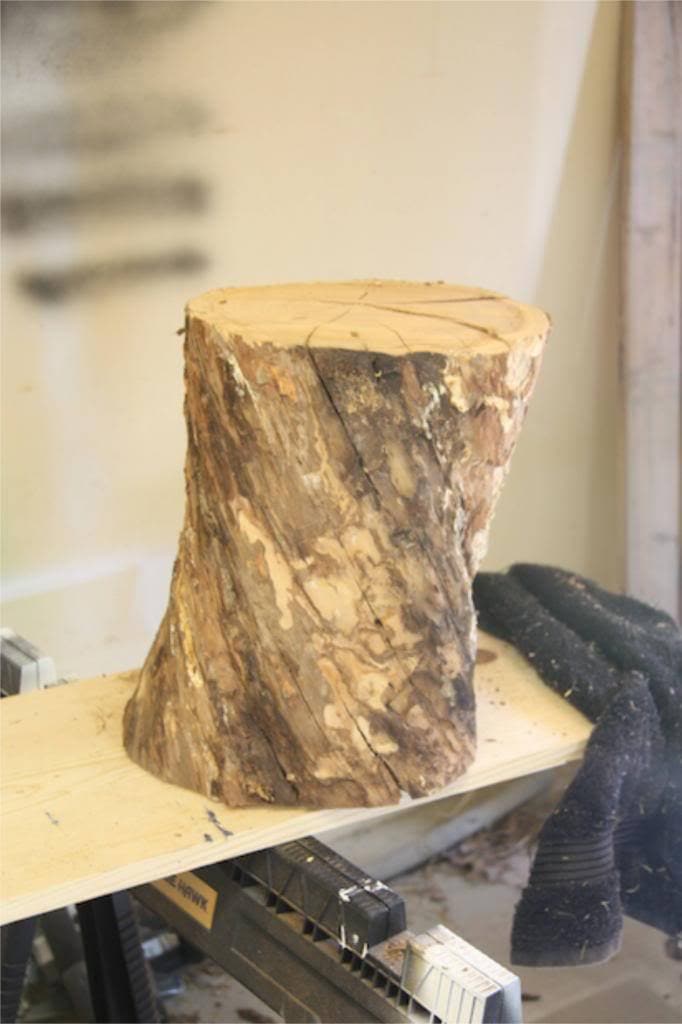
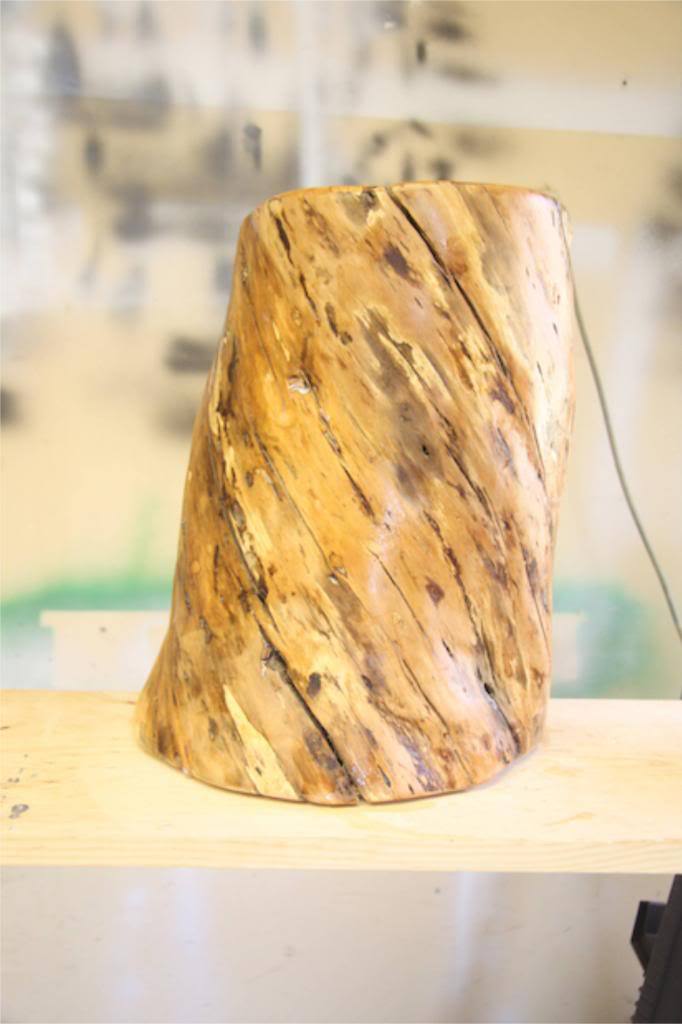
Since ours was already dry, we started off with peeling off the bark. All it took was a little bit of patience and a chisel.
Then it was time to sand. Corey started off with 80-grit sandpaper to get the really rough parts off, then moved to 180-grit, and finished it off with 320-grit. This helped us get a super smooth finish and ensured that we won’t get any splinters. This thing is as smooth as any store-bought wood table, so the extra sanding was definitely worth it!
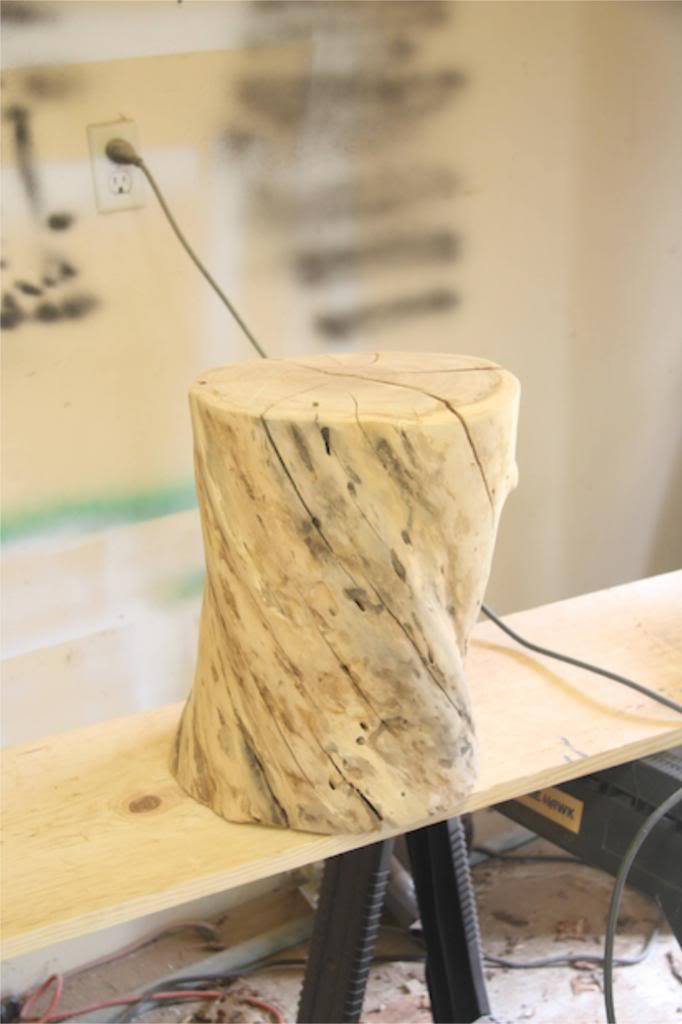
Once it was all sanded, all that was left to do was seal it.
Yup, that’s right. We’re already almost done.
If you want a color other than the natural wood, it would be very easy to stain as well, but we loved the light look and didn’t want to lose it. All we did was apply three coats of polycrylic with a foam brush (we sanded a little by hand between each coat to make sure we didn’t have any bubbles), and after letting it dry overnight we were DONE.
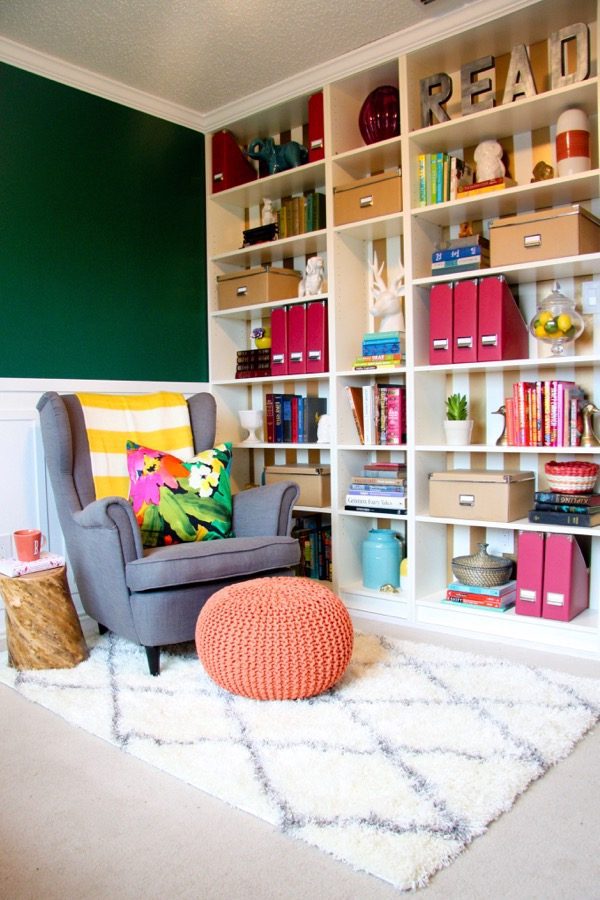
I’m telling you, this project is embarrassingly easy. And can you believe how gorgeous it is? I’m so in love with this table and I think it’s the perfect size. It’s great for holding a drink or a book while reading, and it doesn’t take up a lot of space in our incredibly tiny room.
And, um, yeah. That’s all there is to it!
This project was a great reminder for me that sometimes you just have to jump in and try something – it may turn out to be infinitely simpler than you thought it would!
Related Projects
Love this project? Here are a few others you may enjoy:
Wonderful idea. And goodness knows I have plenty of logs laying around doing nothing.
Love it!! It is gorgeous. I would totally do something like this if I had access to any old dead trees. I’m going to keep it in mind next time I hear any family member talk about cutting down a tree 🙂