
Giant DIY Pegboard Wall
We created a giant, DIY pegboard wall in our workshop and it has totally changed our organization game when it comes to our tools! See how we built this large pegboard and how we’re using it to keep things clean.
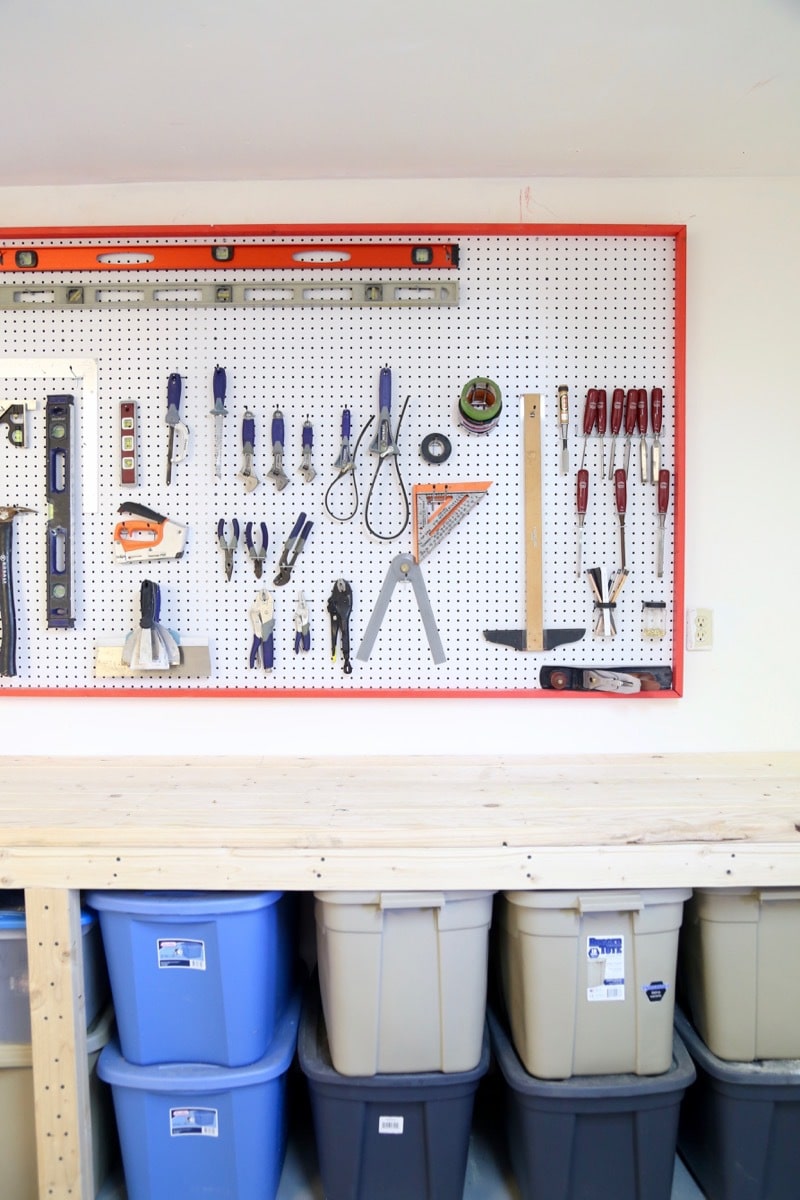
This summer, Corey and I have been working really hard on getting the workshop in our backyard organized. It’s been a long road, but we’re finally getting to a point where it’s starting to feel like it might one day be a useful space again. After we got the flooring fixed and installed our DIY workbenches, the next project on our agenda was to install a giant pegboard to keep all of our tools organized.
In keeping with the theme of this entire workshop renovation being a nightmare, we had our fair share of problems with this project. We kept overestimating the structural integrity of the pegboard and having to go back in and fix things (don’t do that), it fell off the wall not once but twice while we were trying to put our tools on it (don’t let that happen), and when we were finally getting it totally fixed and attaching it (securely) to the wall, we accidently screwed into an electrical line that was installed improperly and killed all of the electricity going to the workshop (really bad idea to do that, too).
You guys. I wanted to cry.
But, we FINALLY got it all fixed, hung, and loaded up. And oh, boy, do I ever love it.
How to Build a Giant DIY Pegboard
Step 1: Build a Frame
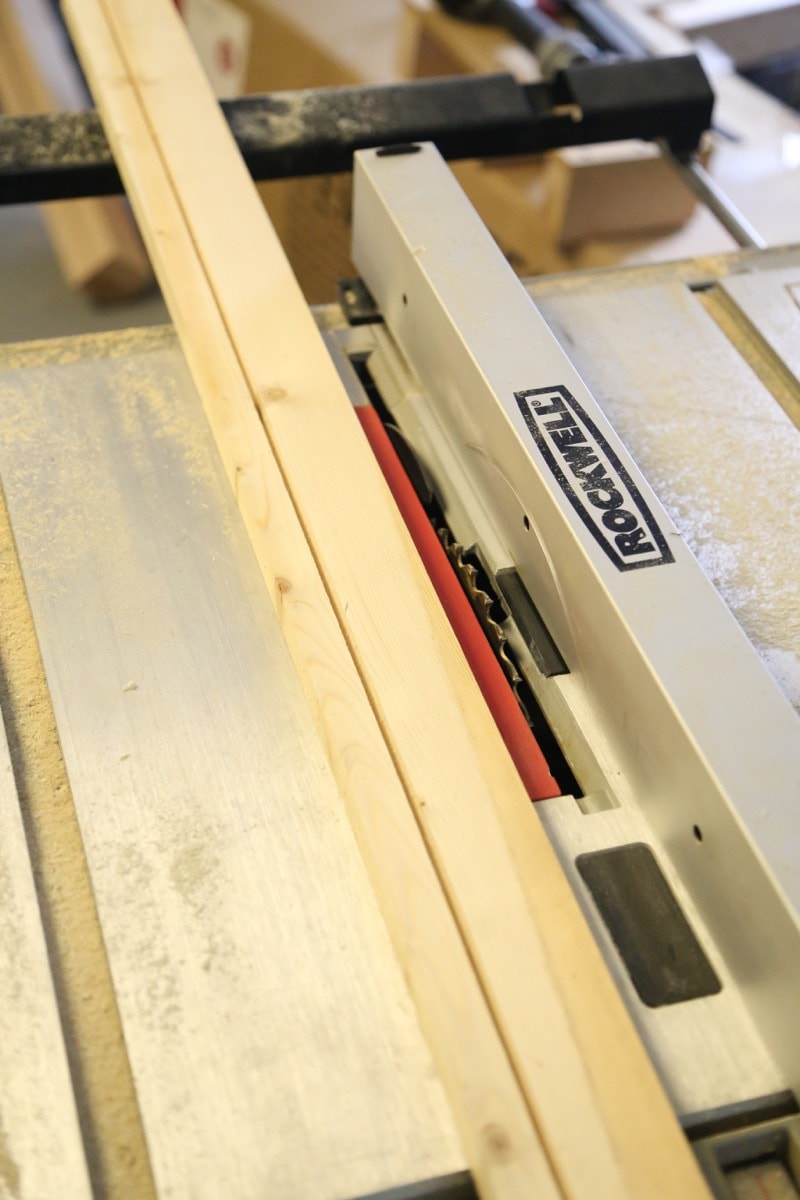
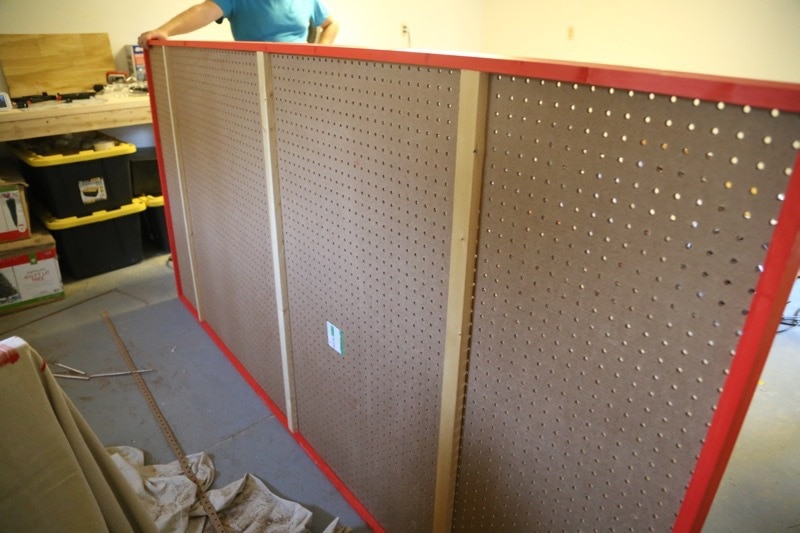
To make it, we bought a massive pegboard at Lowe’s (it’s about 4 feet by 8 feet), and Corey built a simple frame for it using 2×4’s. Here’s how it worked:
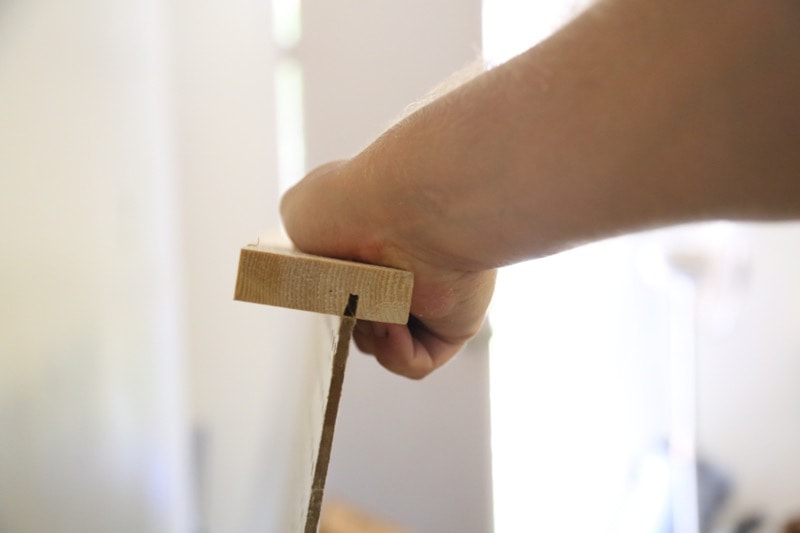
- He simply used his router to cut a small slot in each board for the pegboard to fit into.
- Then, he cut the ends of each board on a 45-degree angle.
- To piece it all together, we nailed together 3 of the boards so they made a U shape, then we slid the pegboard in.
- Finally, we attached the top board and nailed the rest of the frame together.
- As you’ll see, we also painted the boards for the frame for a fun pop of color

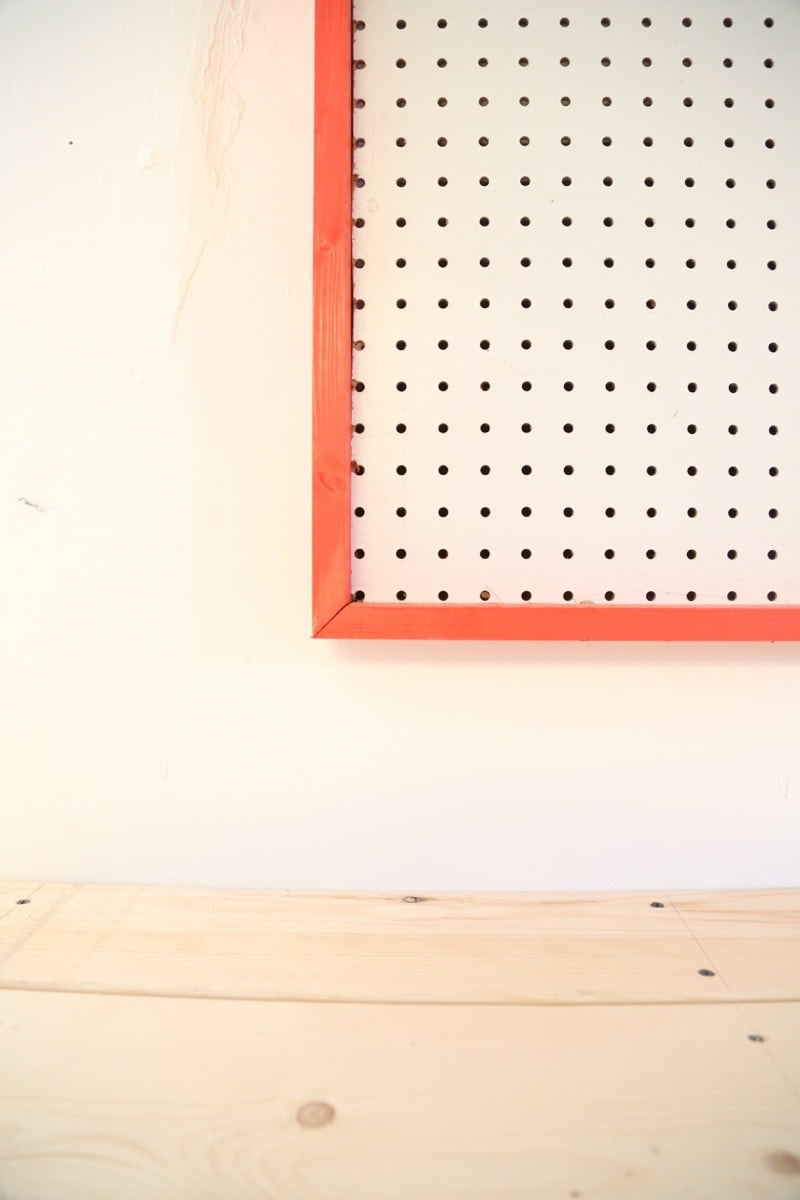
Step 2: Add supports in the back
We also added three small and thin boards in the back (they’re screwed in on the top and bottom and through one of the peg holes on the front of the board) to help stabilize it as much as possible.
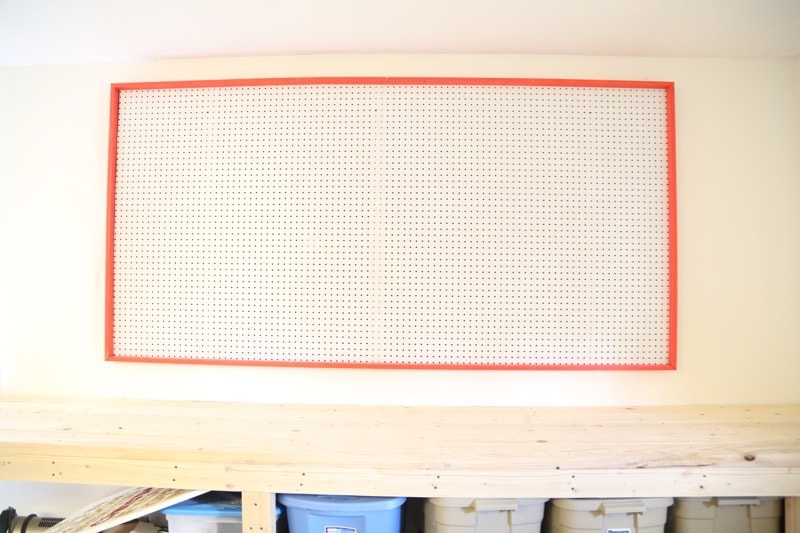
Step 3: Hang the pegboard
To hang the pegboard, we hung it on three screws from the top (screwed into the studs), and then used extra long screws to screw in three places down each of the support boards in the back (so a total of 9 screws through the front of the board). It might seem like overkill, but just trust me on this one.
Remember how I said it fell off the wall twice?
Don’t make the same mistake we did.
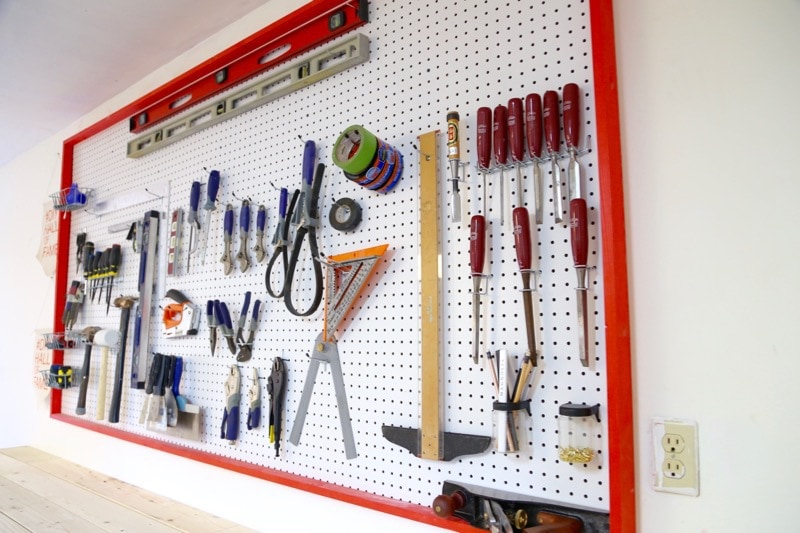
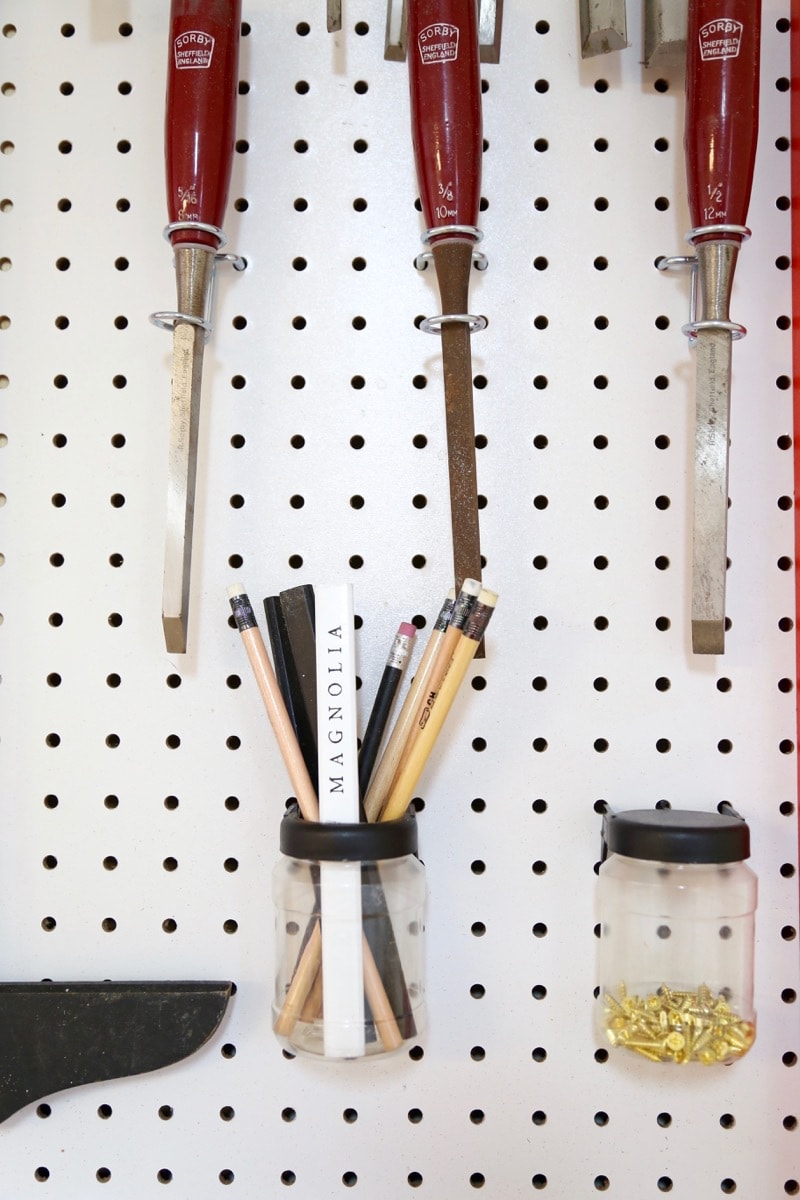
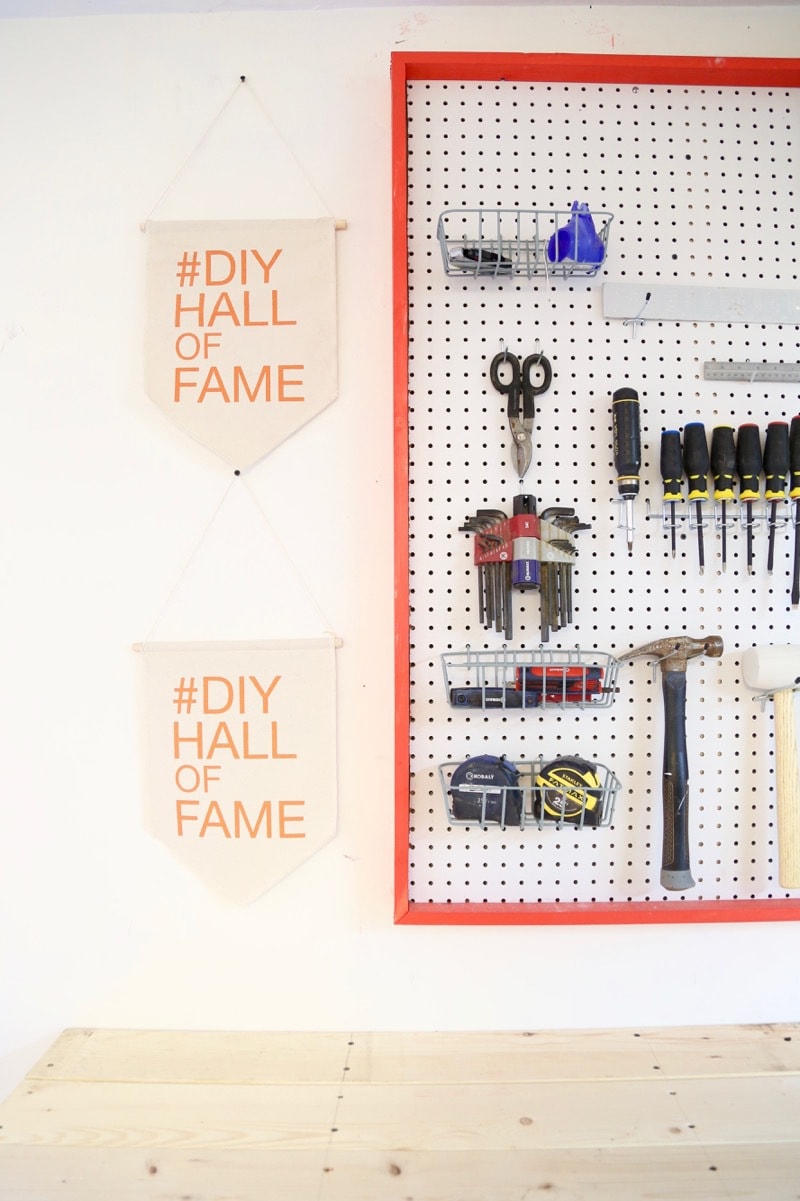
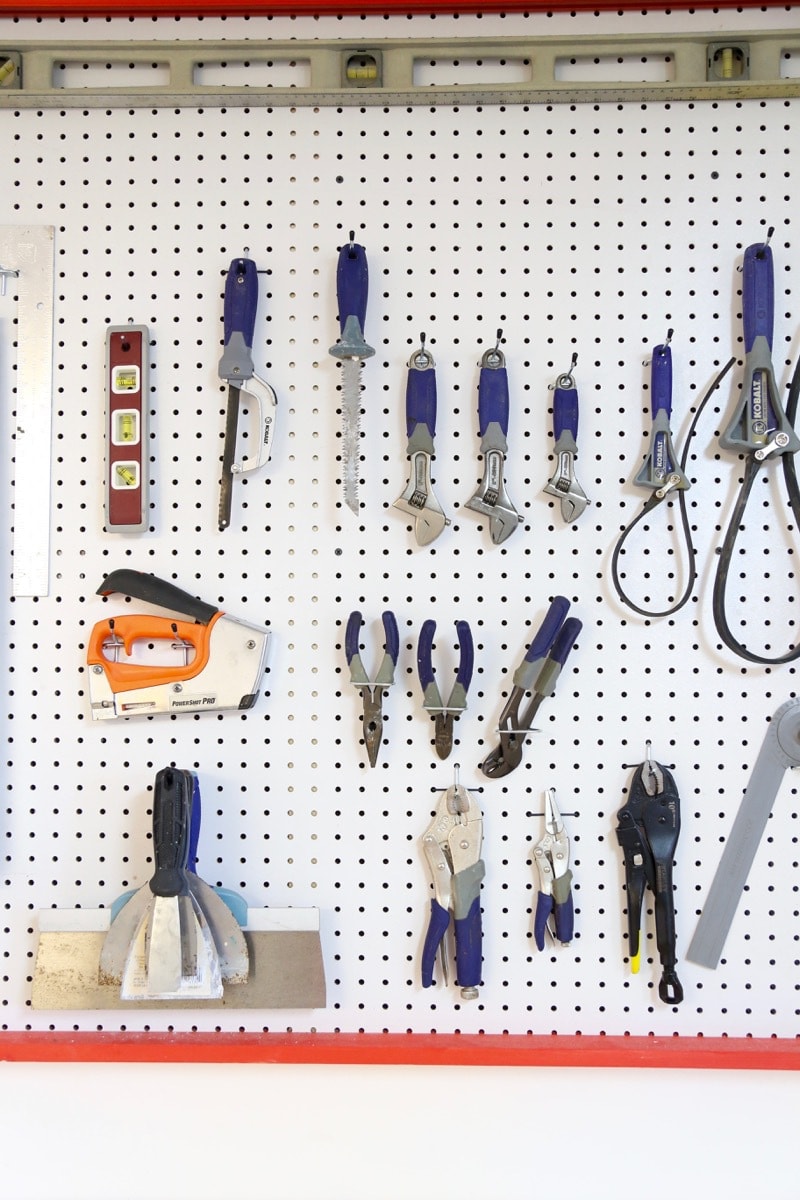
Step 4: Add your tools
With everything put together and hung up, it was time to start adding the tools. Corey did all of the organizing, and it looks awesome. My organization-loving-soul gets a little giddy every time I see it, and it’s so much easier to find everything we need now. Since the board is so giant, there’s still a bit of room to grow, so we don’t have to worry about running out of space anytime soon.
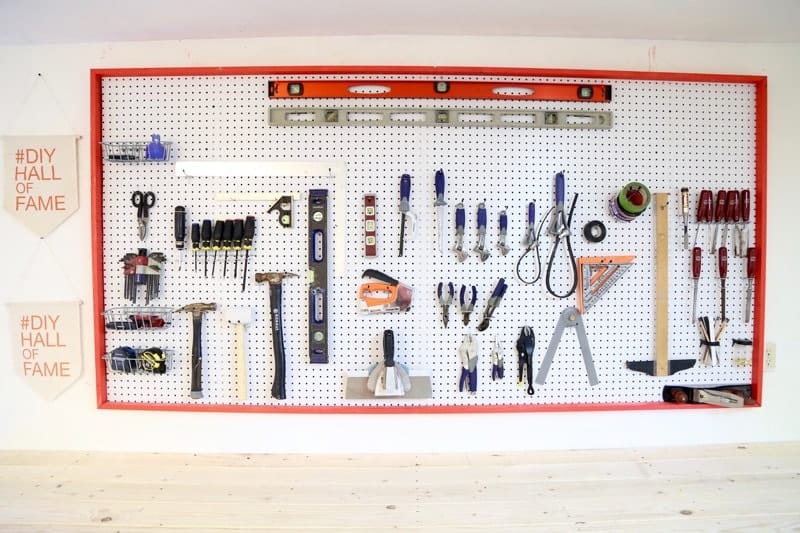
We, of course, had to hang our DIY Hall of Fame banners from Haven on the wall.
This is pretty much the most wonderful thing we could have possibly done in this room, and I’m so ridiculously excited to have everything so organized now.
Of course, in the interest of keeping it totally real, allow me to remind you that we are not done in this room yet. It might look nice and pretty here, but if you turn around…
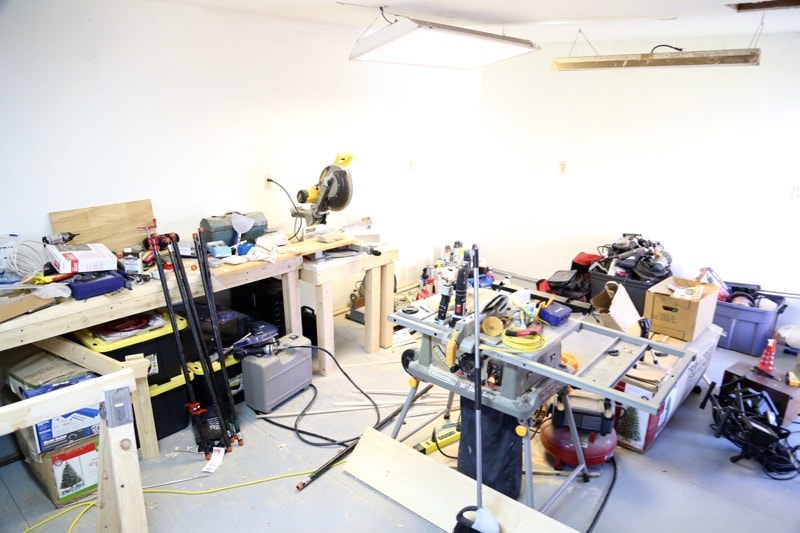
I’ll wait while you pin that one. I know you want to.
You good?
Yeah. The room still needs some work – clearly. But no matter what, we’re doing way better than we were before! Next on the agenda is building some shelving for scrap wood, paint, and other random things…and then it’s time to figure out where everything else goes.
Not gonna lie, we still aren’t sure how we’re going to handle that yet.
But for now, let’s just look at my pretty pegboard and forget about all of that other stuff.
Ahh, that’s better.
How do you keep all of your tools organized? Does your heart skip a beat like mine when you see all that organized goodness?
I am at the point of re doing my workshop. I have had a cabinet for many years and I have used shelves before and other ways of laying tools on this, in this, in the shed, upstairs, in the dining room etc. I will not name each place I leave tools. LOL.
I am re doing my workbench but will first tackle the pegboard idea. I want to hang a pegboard about 8 feet length and about 30 to 34 in height above the workbench, which will be redone after that. I want to find out if I need to leave some area behind the pegboard to get access to it or just put 2 by 4s behind and just really attach it to the wall permanently. I see some that have stored wood behind the pegboard but I am not sure as to that. I think the hangers really fit in and do not fall out very easily. I think that is the main thing that I want to be sure of and if I need to zip it from behind through two holes.
I thought about running the pieces of wood behind so I can maybe reach in so far to help myself fish something through the holes but my arms are not 8 feet long and I will not be able to get one side very well at all. The furnace is over there. Take care and good luck all.
That’s not diy pegboard, you bought the pegboard at lowes.
I’m trying to learn the gotchas of installing pegboard before I do it. Your intro says it fell off the wall twice, but your detail project description doesn’t say how that happened and how you fixed/prevented it. Are you showing us the project after the fall downs with the deficiencies fixed; in other words, the right way to do it?
Thanks for your help. I’m looking forward to a great project.
Tom
What I detailed in the post is the fix for the falling! We didn’t originally secure the support boards well enough! With the steps I detailed in the post, it’s been hanging just fine for about a year now!
Oh wow! I would love this! And your space for all the great tools! Attractive and tidy. Great share! Thank you!
Thanks, Naomie!
Our garage neeeeeeeds this so badly! We have tools stashed there and in our basement, and inevitably, the one I need is in the location I *didn’t* check first. And on the rare occasion, it’s sitting on the floor of my husband’s office (what??). Way to stick through the pitfalls; I probably would’ve thrown in the towel after the first mishap and headed straight for a bottle of wine!
Haha YES we definitely had those problems before this too. The room is still a disaster, I’m hoping within the next couple of weekends we’ll finally get it all in order!
I love this idea and I really need to do this! I always put off organizing the garage because I am only in it when working on a project and cannot organize it then. This is such a simple solution to keeping things where they need to be.
It’s made a HUGE difference for us! 🙂
Hi there Amanda! Is there anyway possible you can please contact me. I have something to ask you regarding an older project you have blogged about 🙂 It would be appreciated to hear from you! Thank you for your time in advance!
Kind Regards,
Jenna
[email protected]
Hey, Jenna! You can shoot me an email with your question at [email protected] 🙂
Looks great! I love how the peg board took all the clutter, and made it sane! We did the exact same thing in our space, it’s just not photo worthy 😉
Thanks! I’m learning that pegboards are AWESOME at keeping things organized!
This is fantastic! Love this idea!
Thanks, Jen!