
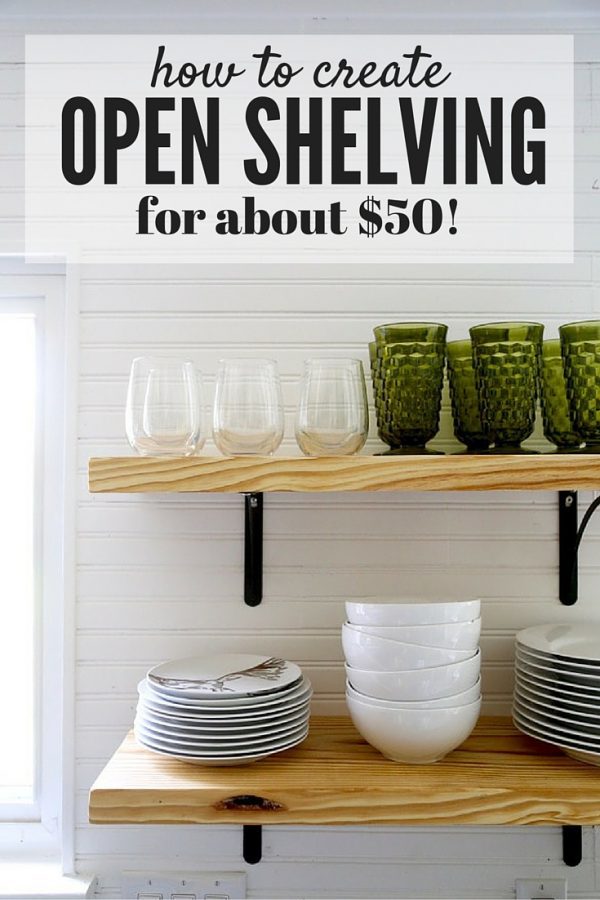
Easy DIY Open Shelving
If you need to catch up on our kitchen renovation, you can see where we painted our cabinets here, and how we painted our countertops here, and finally, how we installed the beadboard backsplash here. Today, we’ll chat about our DIY open shelving!
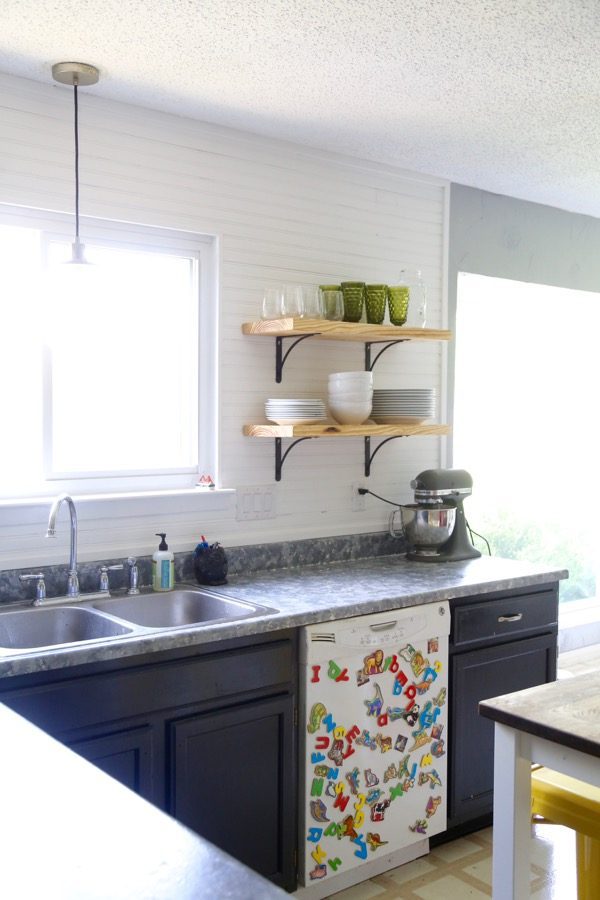
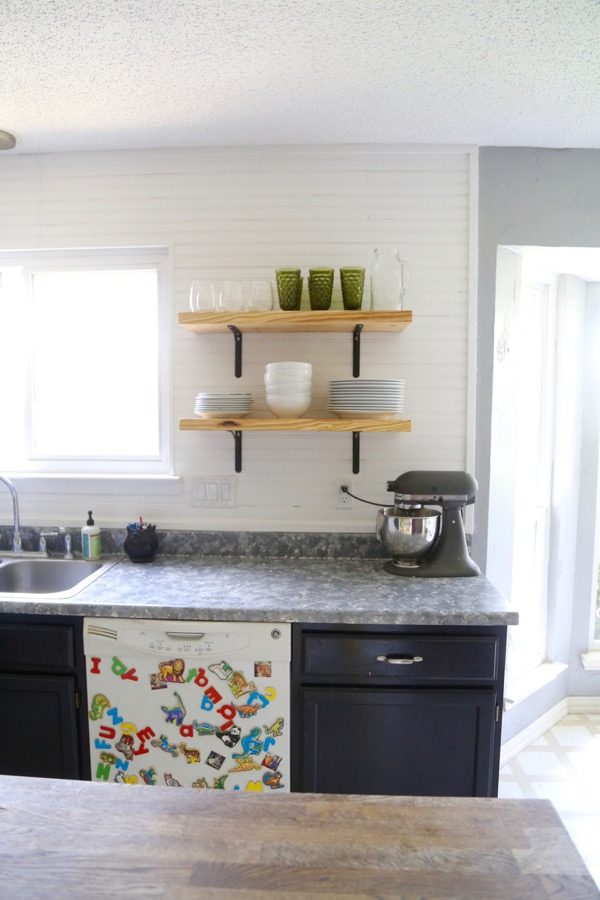
When we last left off on our kitchen renovation saga, we had installed a (gorgeous, I’m so in love with it) beadboard backsplash…and we had taken down our only upper cabinet on this side of the kitchen, which left us with exactly zero storage.
Well, obviously, we needed to remedy that.
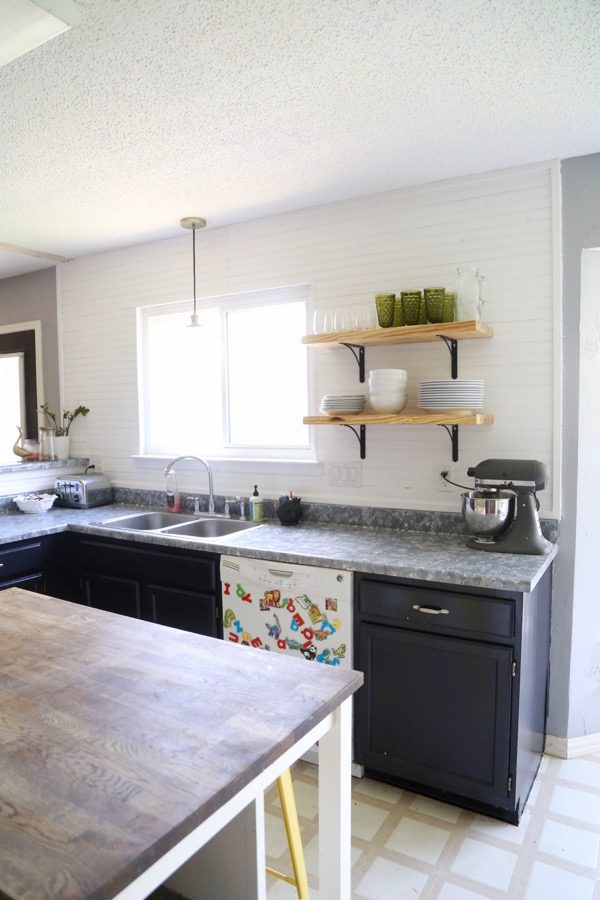
Corey and I have been dreaming of DIY open shelving in our kitchen for a long time. There used to be one lone cabinet above the counters on that side of the kitchen, and it always looked a little sad and lonely – we knew the room would feel much lighter and airier without it. So, when we painted our cabinets a few months back, we left that cabinet alone (which meant it stuck out like a sore thumb) until we could get around to dealing with it.
Well, my friends, that day has come.
This post contains affiliate links. Click here to read my full disclosure policy.
Ahhh! I don’t mean to gush, but I am so in love with how this whole project turned out. It’s a game-changer for our kitchen, y’all.
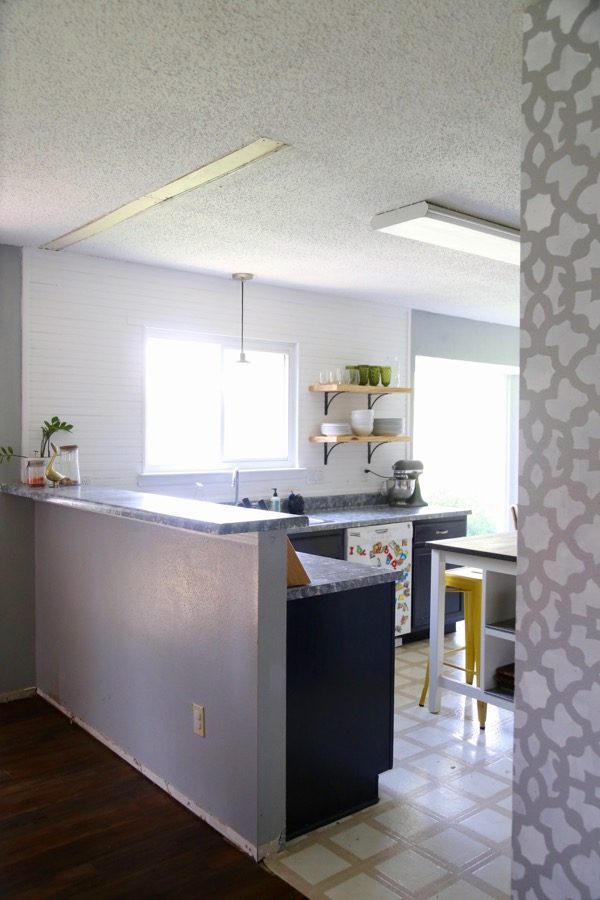
Once we finished this project, Corey couldn’t stop saying how it was the first big project we’ve done that he felt totally transformed the entire feel of our house. You can see the backsplash and shelves from almost everywhere downstairs, and it makes the whole house feel more modern, custom, and gorgeous.
After spending several days installing the backsplash, painting it, and painting the rest of our kitchen, the absolute last thing I wanted to do was pour a ton of time or effort into these shelves. I knew I wanted something a little bit rustic and edgy to offset the stark white beadboard, and I swore up and down to Corey that I have no intention of touching a paintbrush for quite some time after painting literally almost every single surface in our kitchen over the last few months.
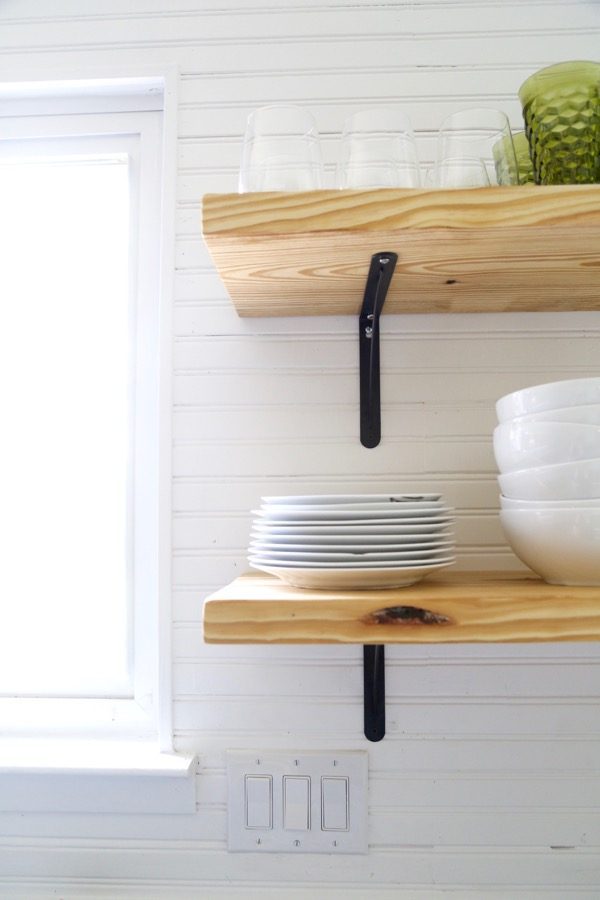
So, we kept it super simple. I was worried we would have to custom order some brackets for the shelves because I’m pretty picky, but we saw these at Lowe’s and they were exactly what I wanted – clean lines, not too elaborate, and black. Perfect!

Easy DIY Open Shelving
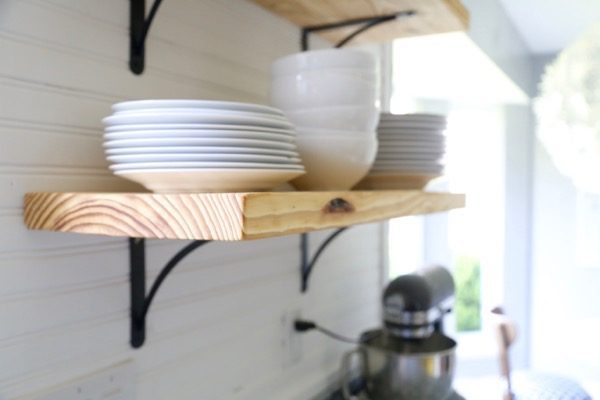
We bought nice, chunky 2×12 while we were there and had them cut it down for us – we originally thought we might do two different sizes of shelves, but once we tried it out by holding it up to the wall we decided to go with the same size shelf for both. We went with 30″ for the shelves, purely because it was what felt right when we held up our tape measure with a few different options.
Once we got the wood home, I gave it a nice rubdown with some Danish oil in the “natural” color. It’s meant to just bring out the natural tones of the wood and I love how it highlights the pretty veins and imperfections. It really brings the wood to life, as cheesy as it sounds, and was exactly the look we were going for.
After we let the wood dry completely (it only takes about 30 minutes before you can wipe off the extra oil, then 8 hours before you actually use it), it was time to put ’em up! To install the shelves, all we did was screw the brackets into the studs on the wall (this is why the shelves are slightly off-center on the wall – we wanted to make sure they were nice and sturdy!), and then set the wood on top and screwed it into the top part of the brackets.
Voila! Shelves!

Because I spent a lot of time Googling this to figure out the standard, here are the measurement for our DIY open shelving:
– The bottom of the first shelf is 19 inches from the top of the counter.
– The bottom of the second shelf is 12 inches from the top of the first one.
This seems to be a pretty perfect distance for us – we have enough room on both the counters and the shelves, and nothing feels too cramped.
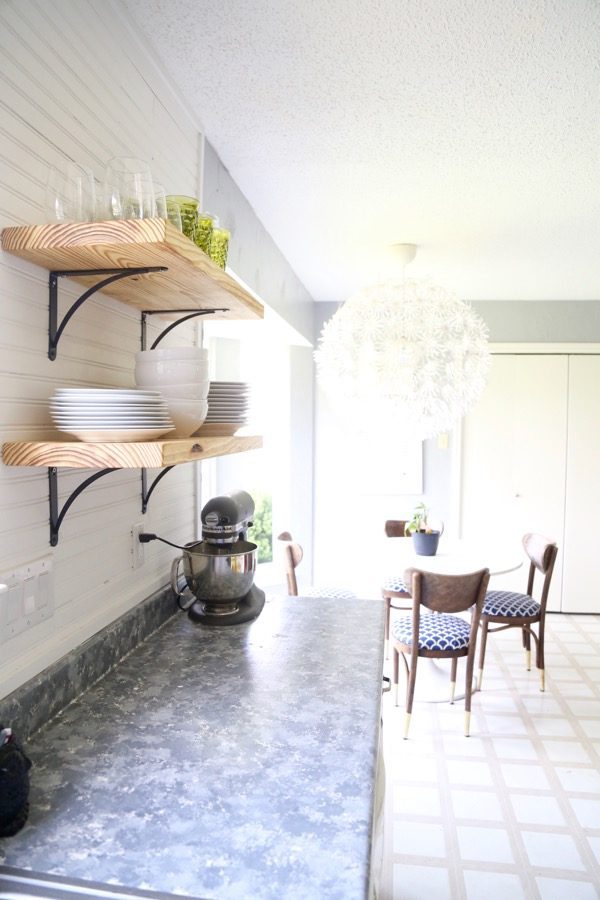
This whole open shelving thing was way simpler to pull off than I thought it would be, and I’m over the moon in love with how it turned out. We keep our most-used dishes here, so nothing has any time at all to get dusty because it’s constantly being rotated. There is slightly less storage space than we had when there was a cabinet here, but we’re really working on downsizing our possessions anyways, so it’s a great thing for us.
The next step in the kitchen will be to put up a window treatment (we are going to get one that matches what we have in the dining room) and then fingers crossed we’ll be tackling the floor with the same luxury vinyl we have everywhere else downstairs soon!
This DIY open shelving was beyond simple to put up, and I am kicking myself for not taking this project on sooner – sometimes the things you build up in your mind as the hardest projects end up being some of the easiest! You can also check out this tutorial for how to make DIY floating shelves if you’re looking for something a little different!
Hello…was the depth of the shelves 12 inches? I’m not sure if that will be too deep but I want to be able to fit my dinner plates. Thank you!
Hi! They’re 12″ boards, which means the actual depth is about 11.5″. Our dinner plates fit perfectly!
What type of wood did you use?
We used Douglas Fir – the stuff you find in the framing section at the hardware store!
Love your open shelves, Amanda!! We just hung ours today! Your kitchen is beautiful! xo
Thanks so much, Kendra!
Hello there. Great job on the project! Question … my wife and I are about to tackle a similar project and we’re having trouble find brackets that will fit 2×12 shelves …. any chance you have a link to the ones you used?
Thanks!
Thanks, Duane! These are the ones we used from Lowe’s.
This is so gorgeous! Clean and functional, my faves combination. Can’t wait to see the master bath come together!
Thank you, friend! 🙂
This looks lovely, and it doesn’t seem like too difficult a project either! Could definitely use the extra shelf space in a few of our rooms. Thanks for sharing this!
It Looks beautiful! I love how the bead board goes sideways instead of up and down and the shelves look beautiful…open shelving is one of my favorites in a kitchen too.
Tania
Thank you, Tania!
OH! I love it! It’s so open and lovely!